사용하는 방법
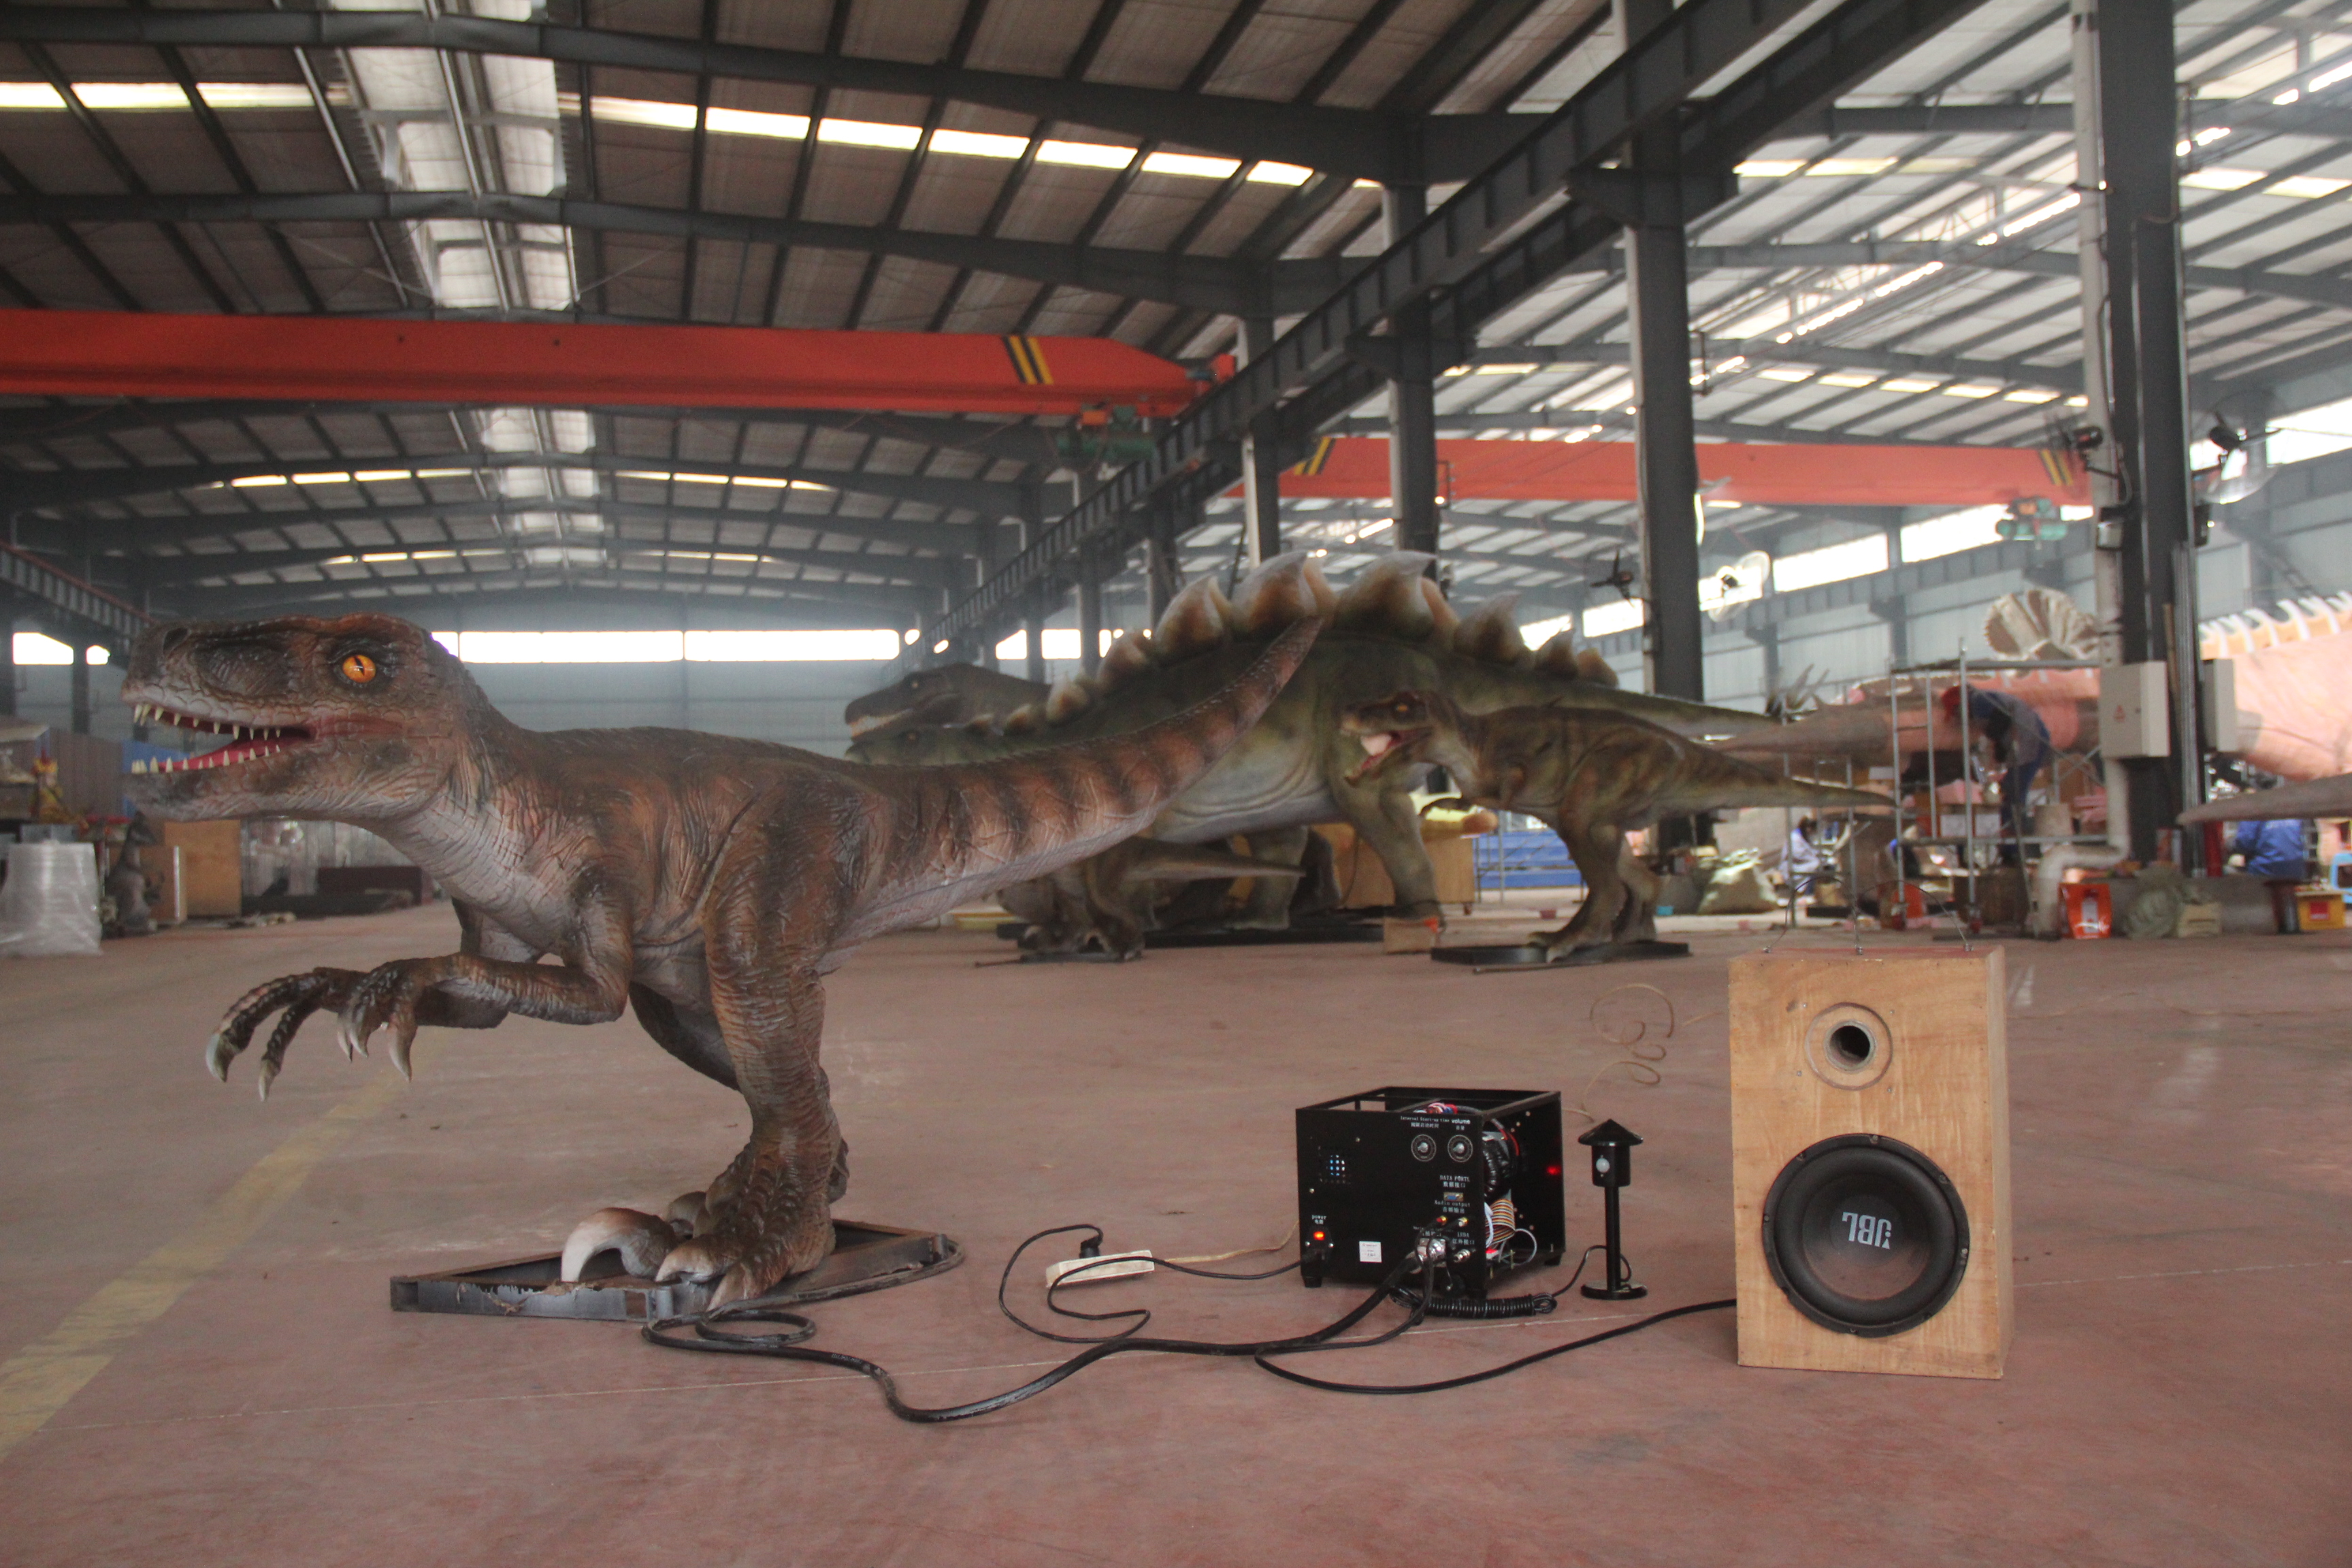
애니메트로닉스 제품의 구성 요소는 전원 코드, 공룡, 공룡 항공 플러그, 적외선, 경적 및 컨트롤 박스입니다.
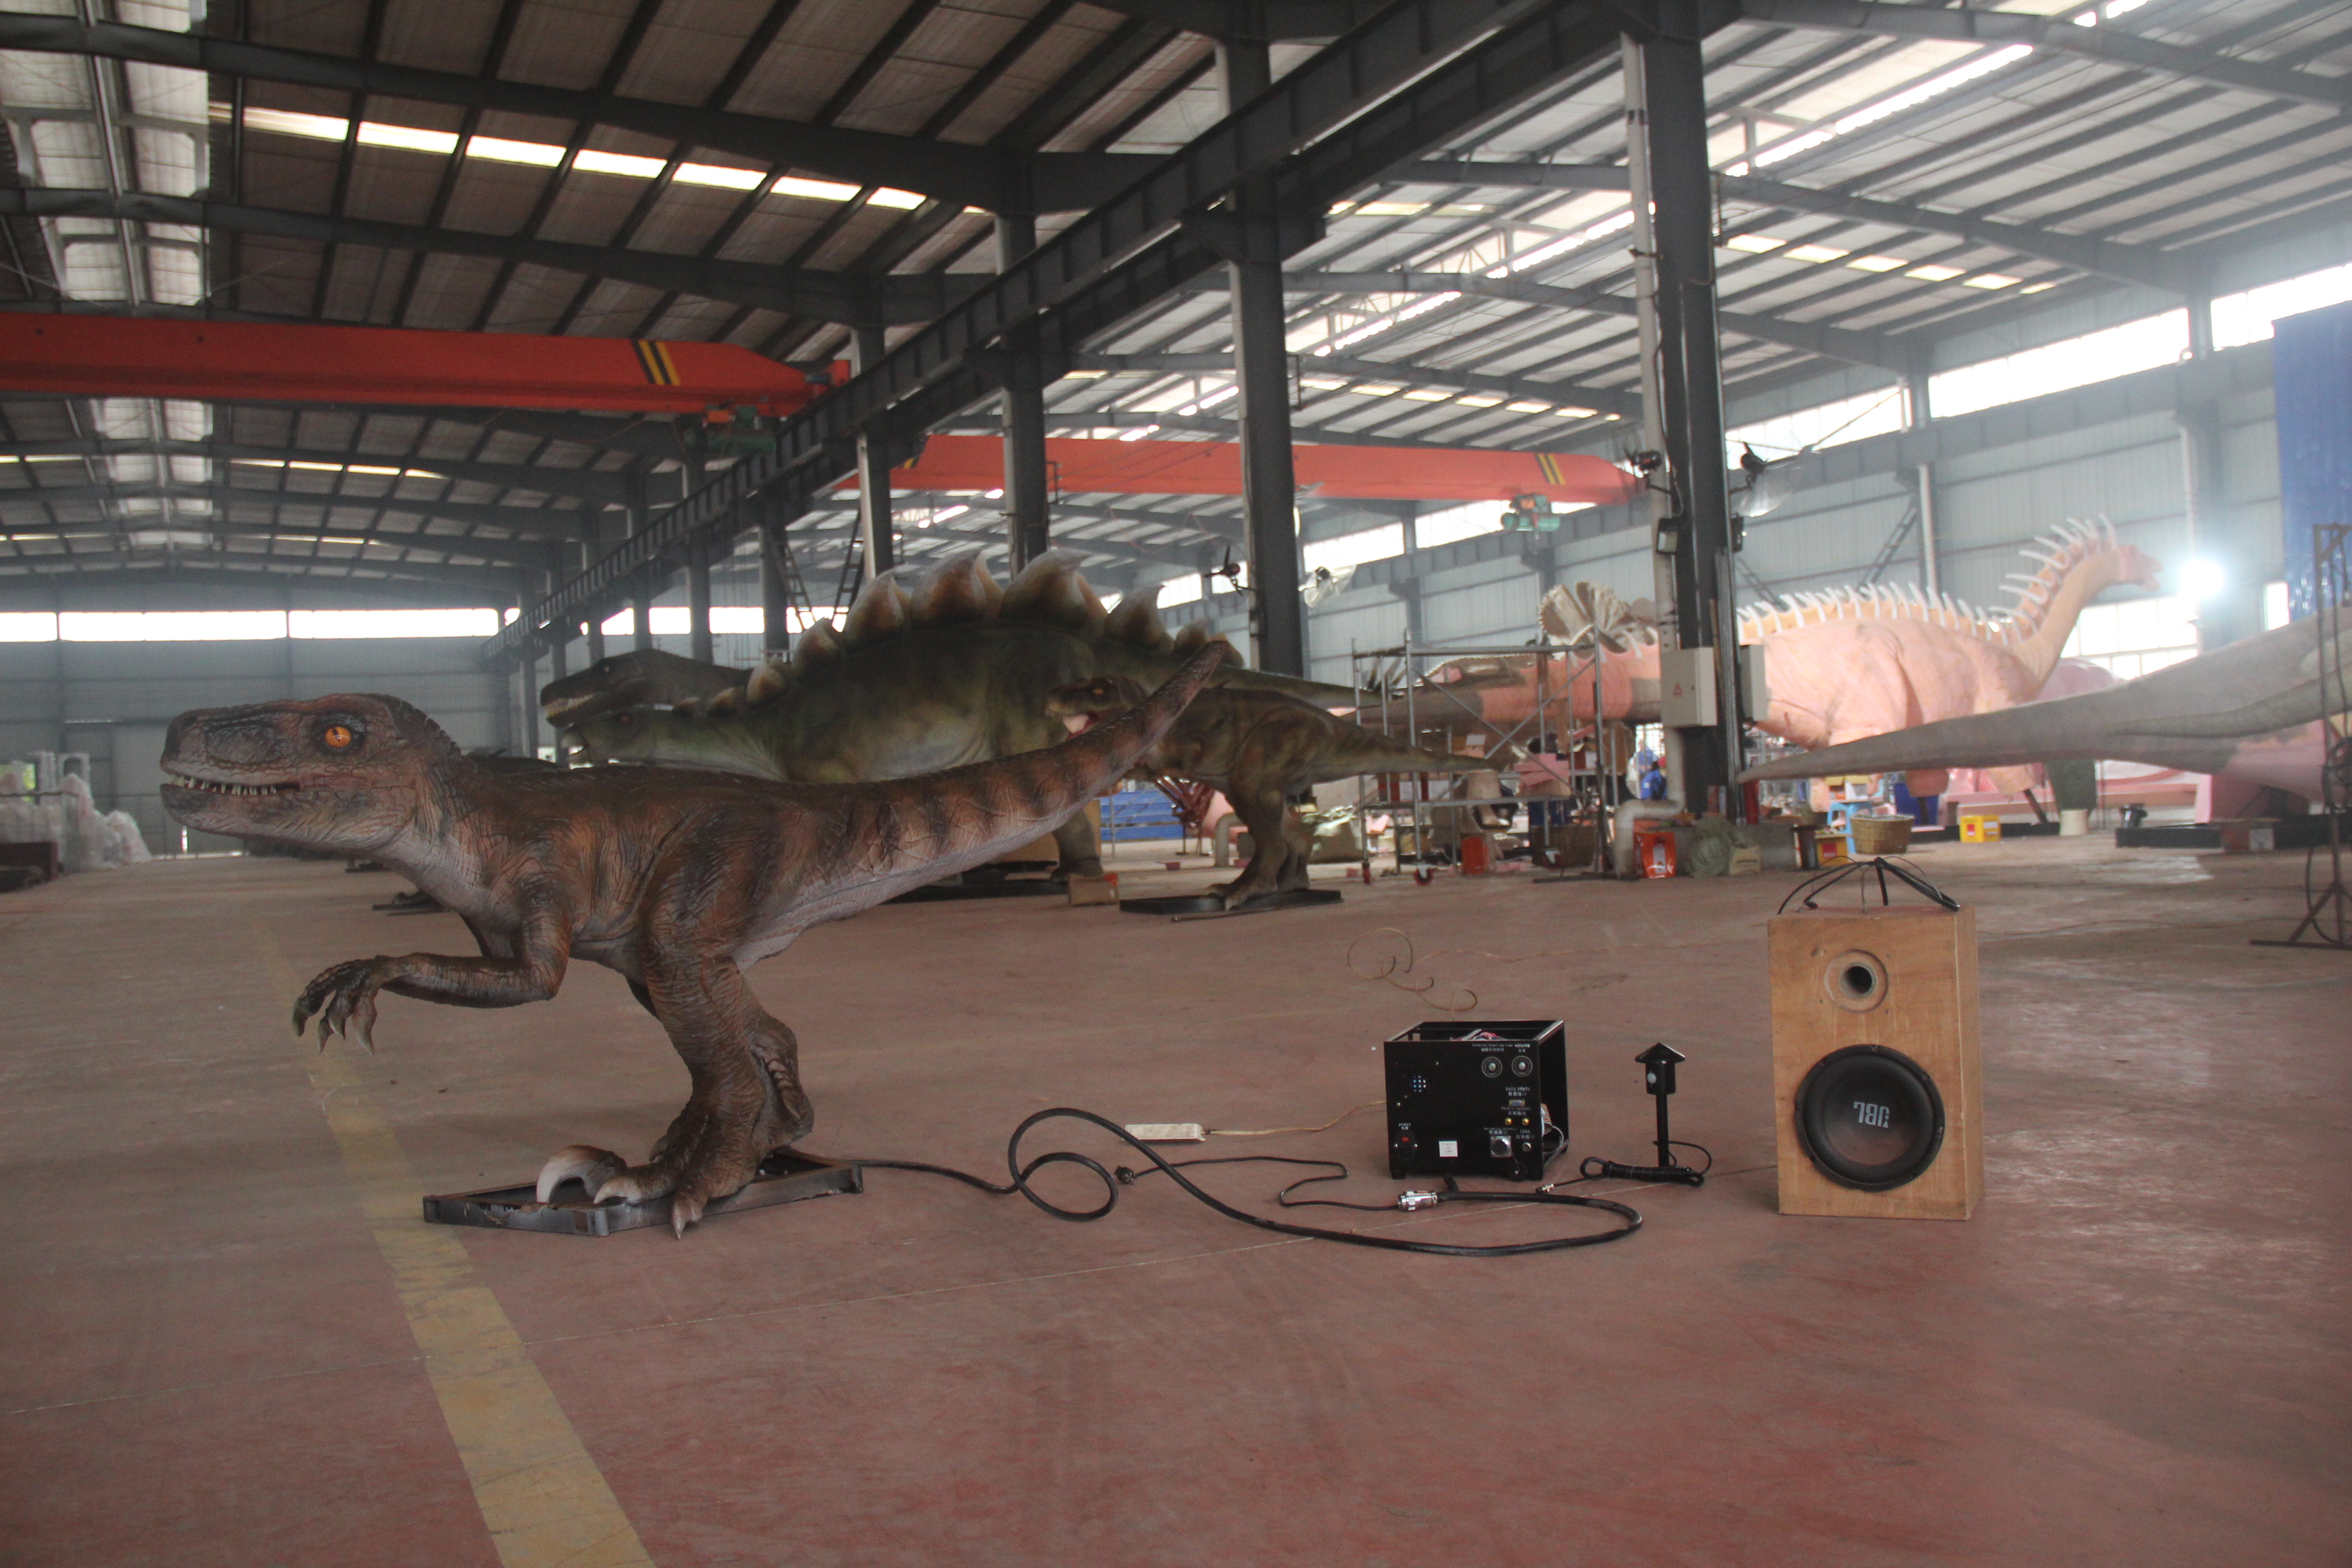
애니메트로닉스 제품의 사용은 5단계로 나뉩니다.
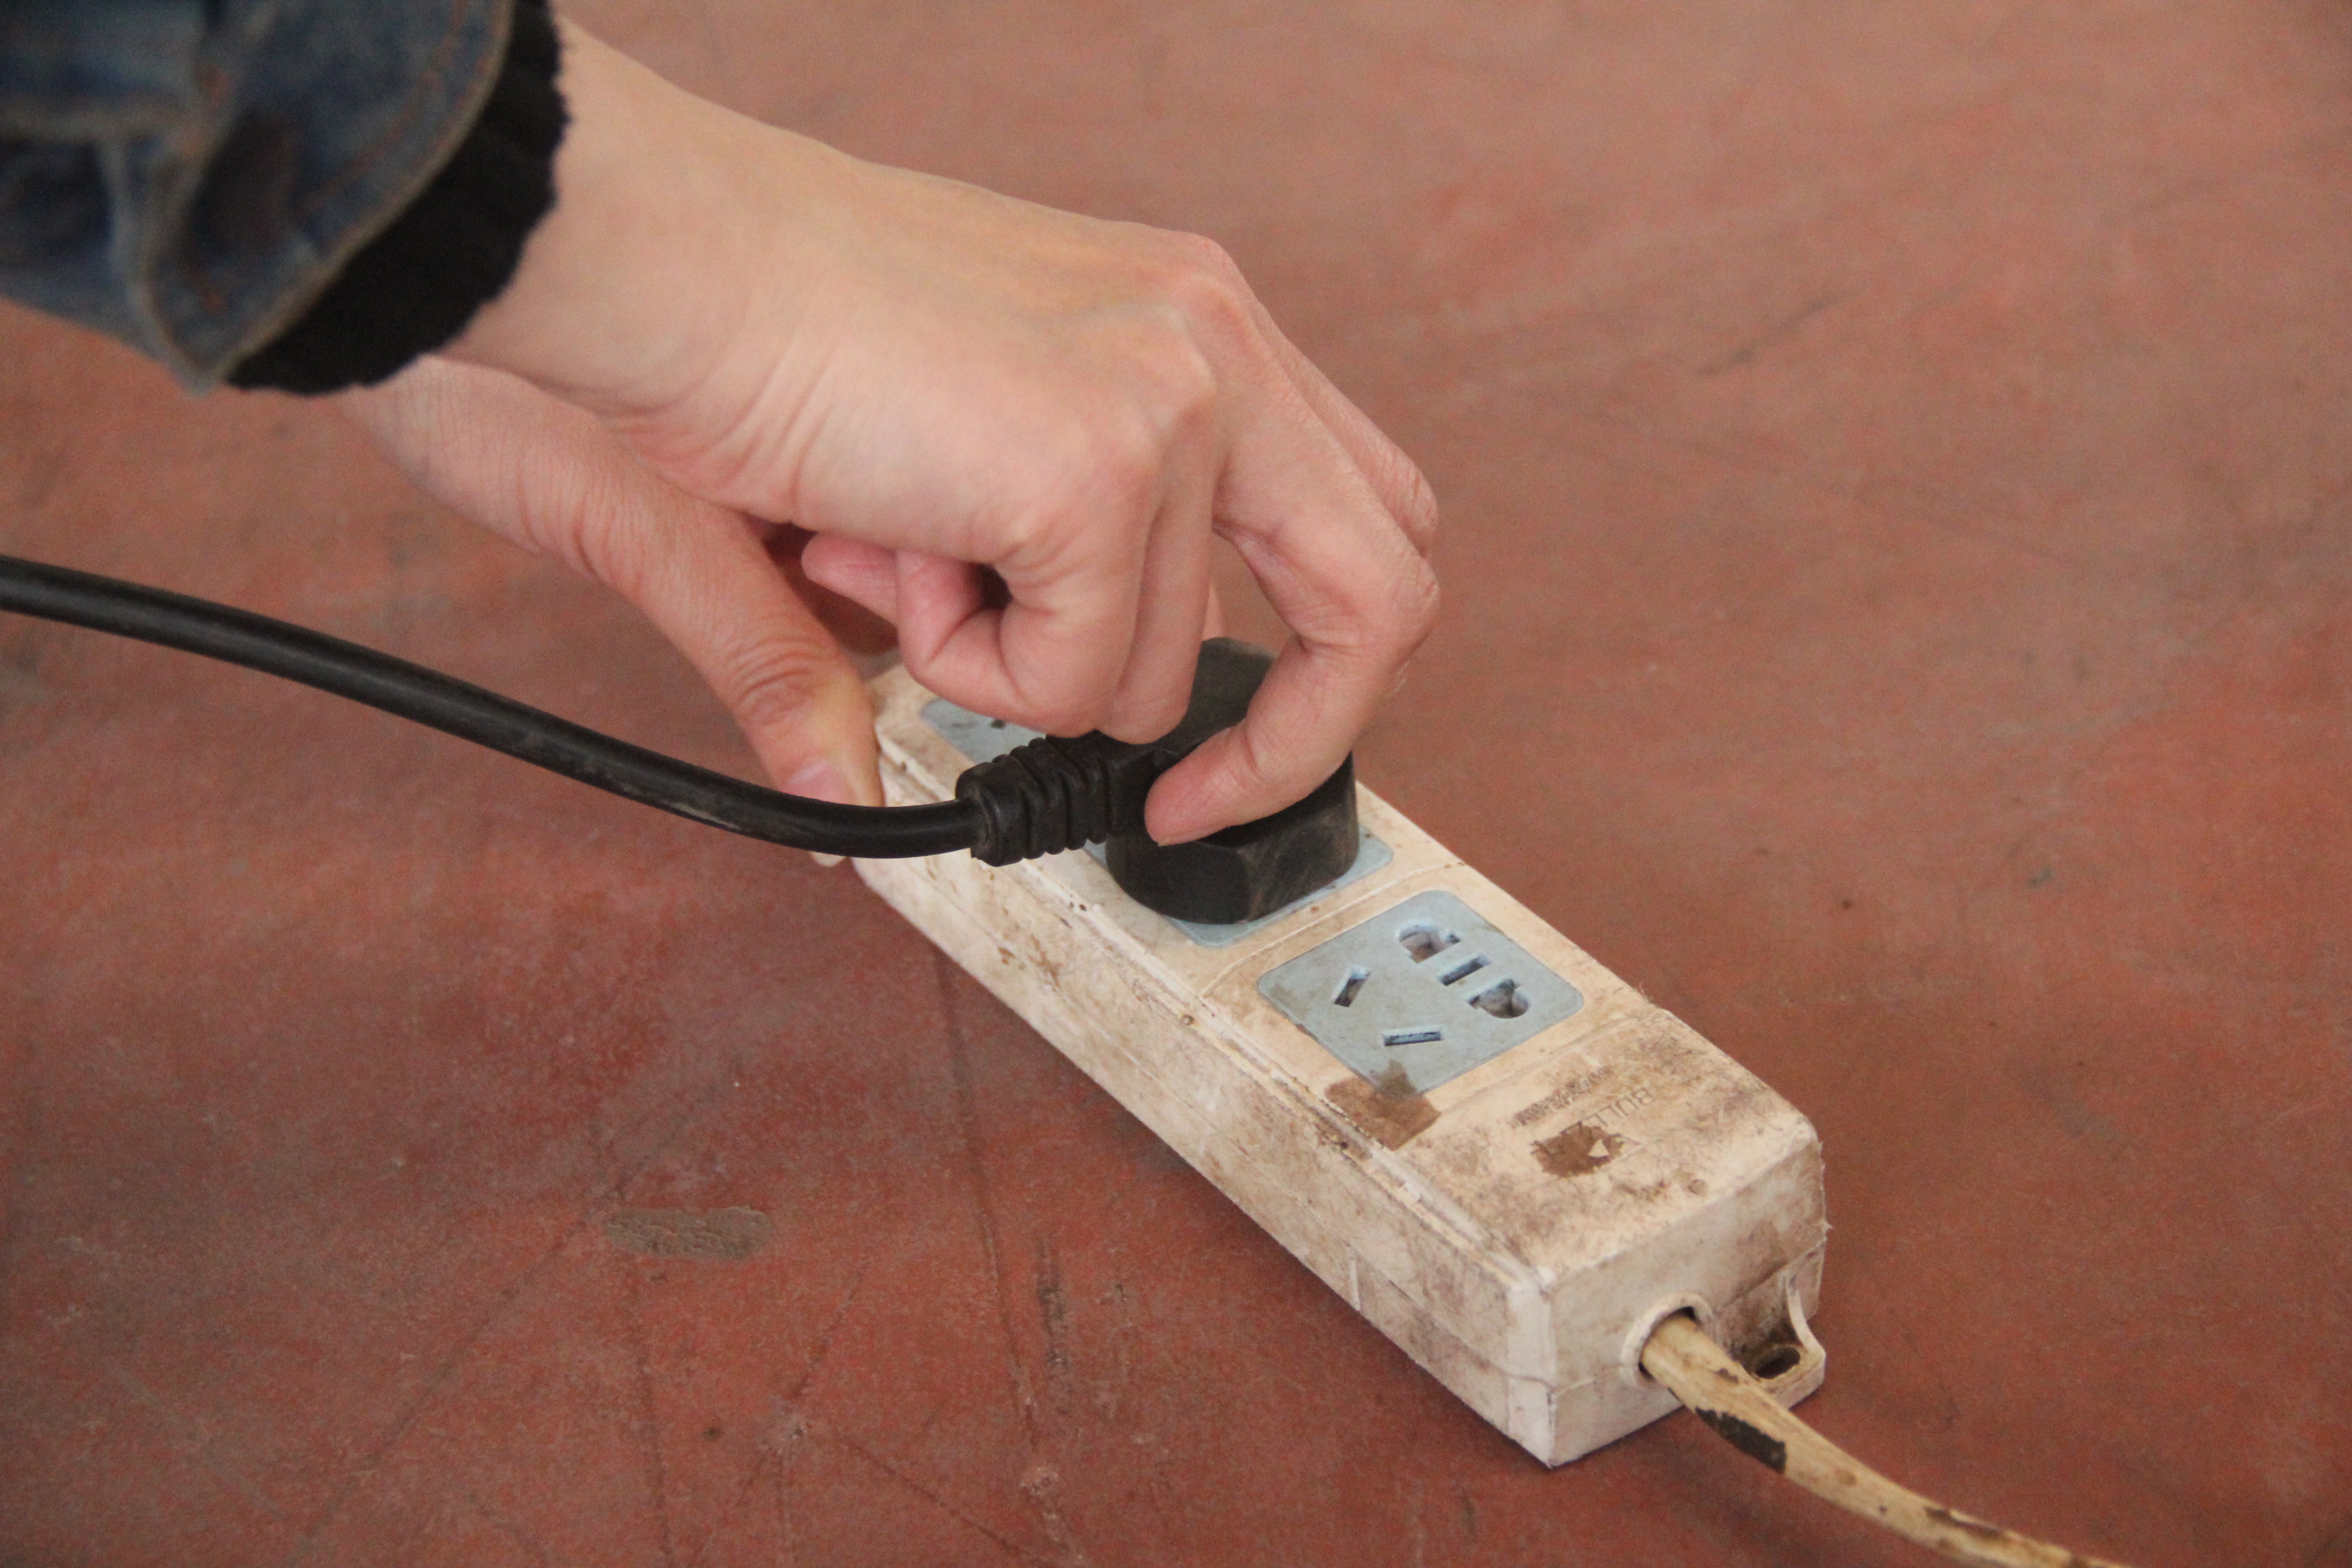
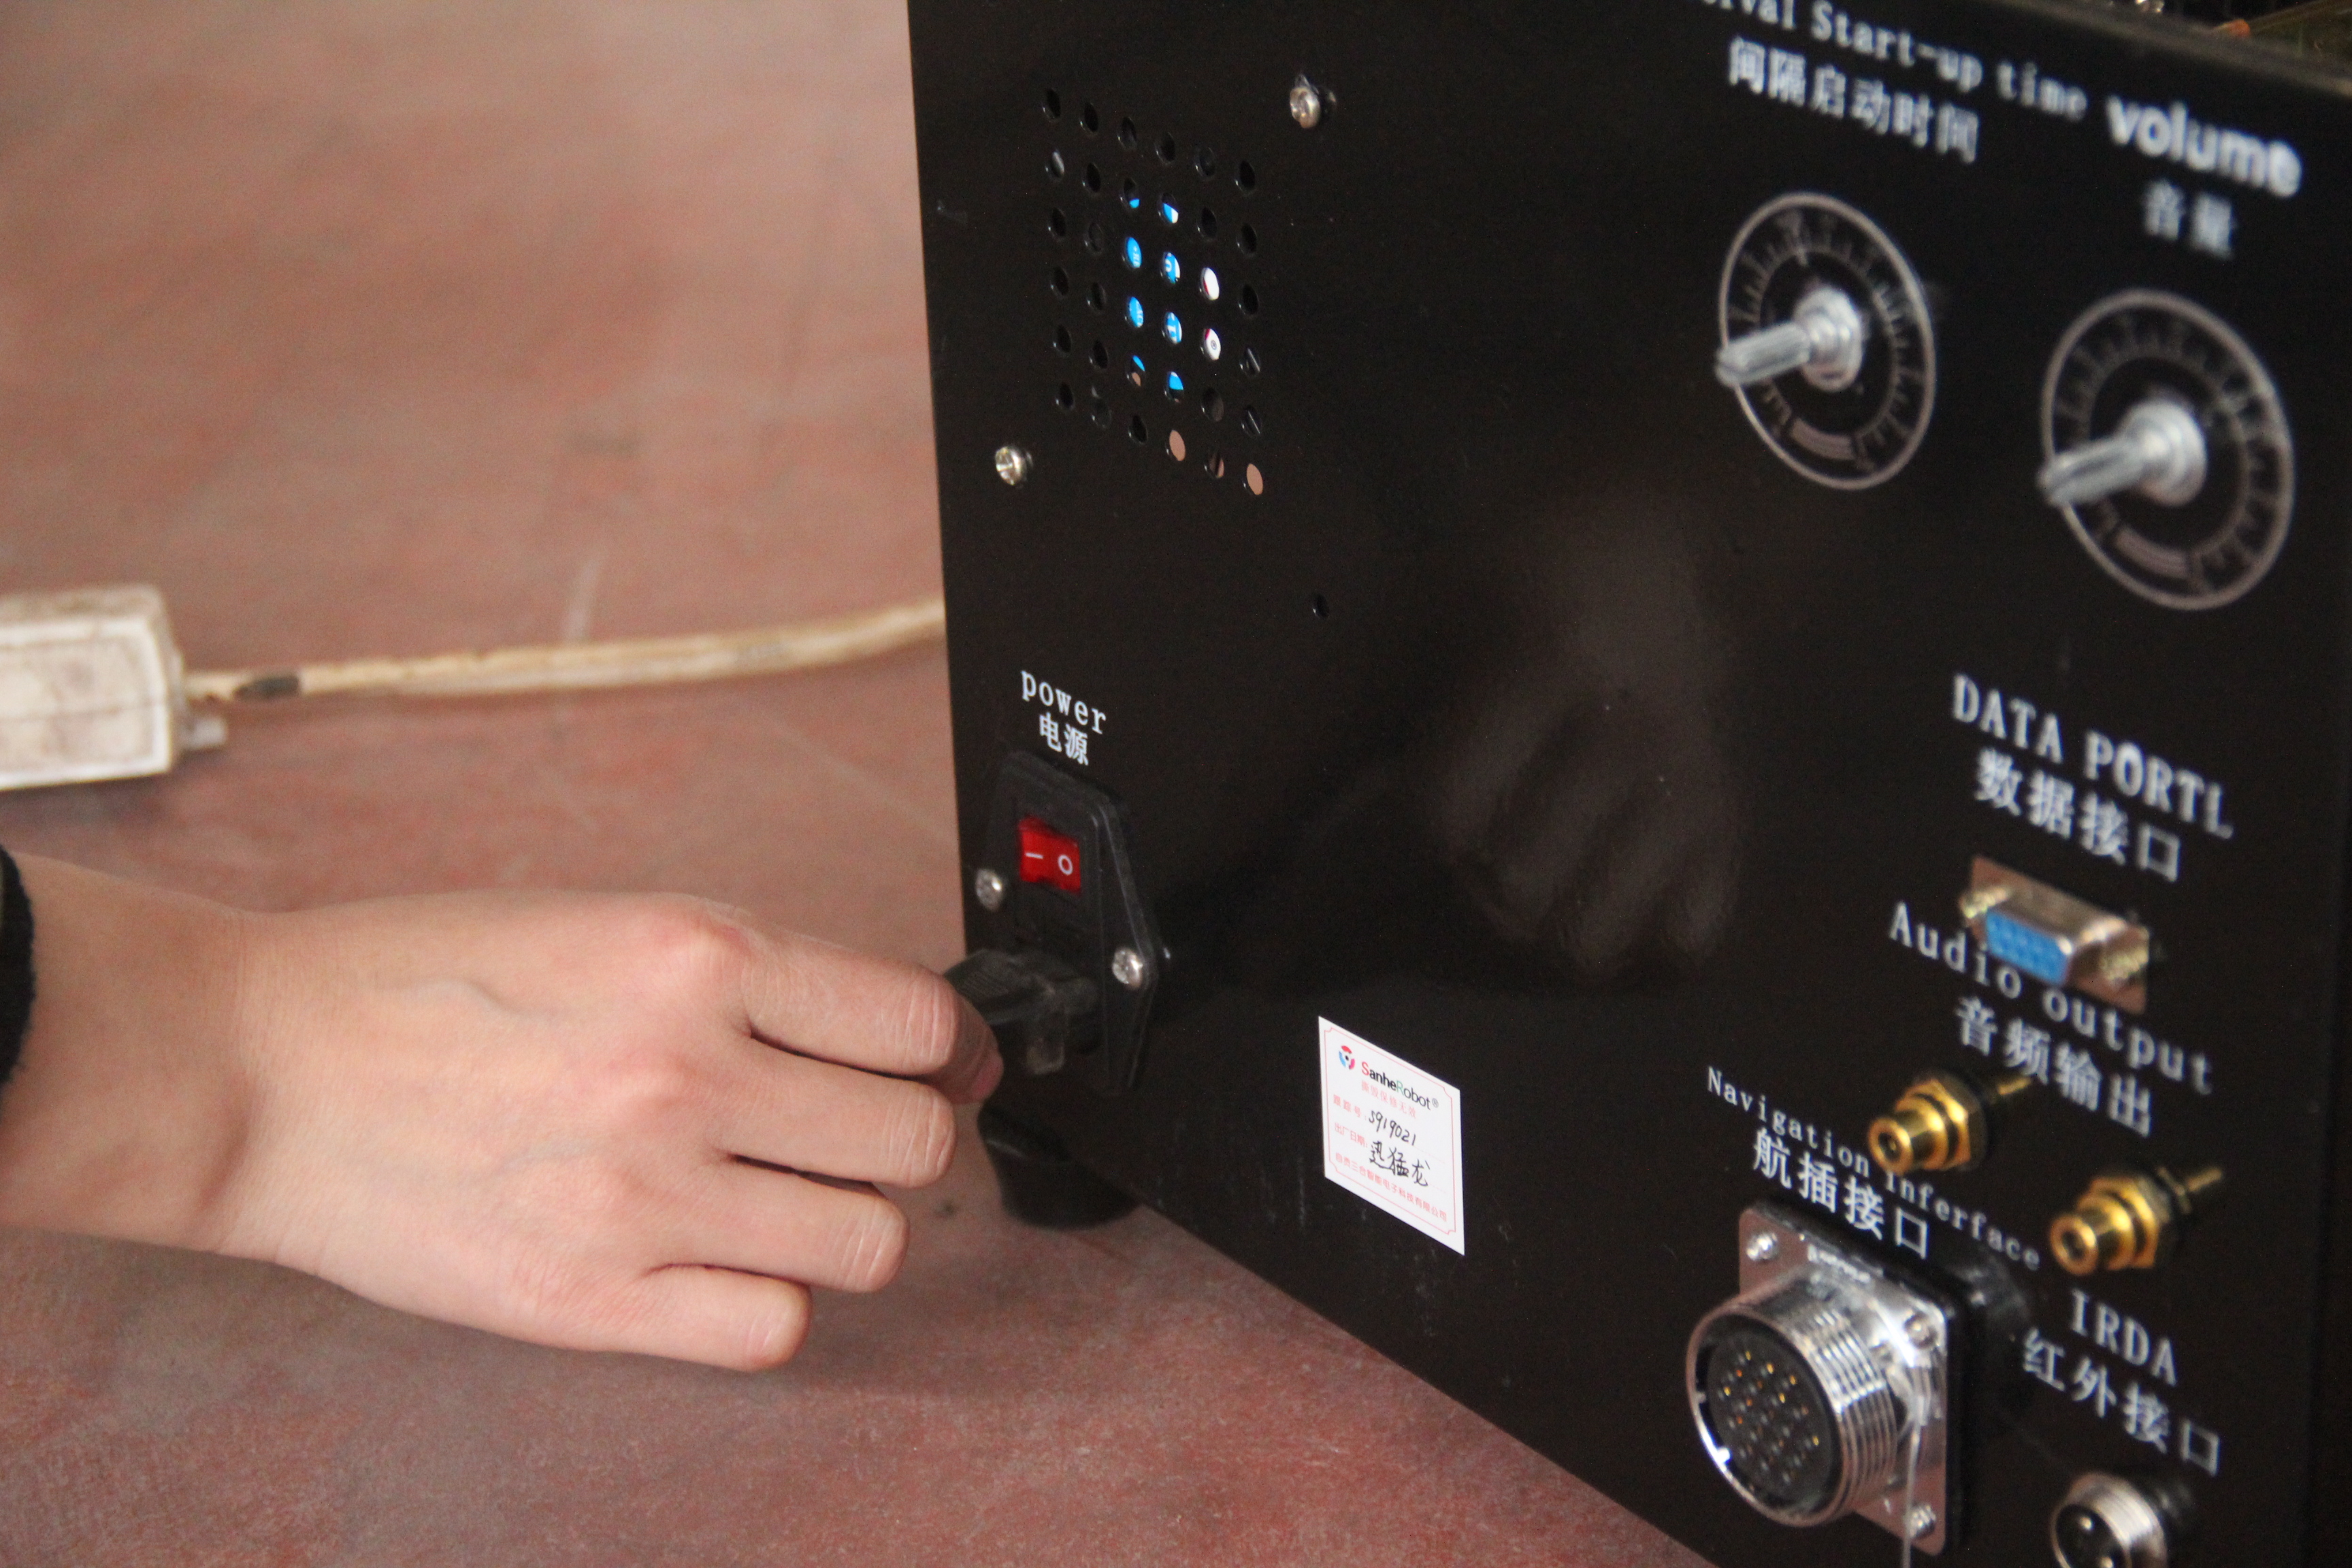
1 단계:전원 코드의 한쪽 끝을 전원 소켓에 꽂고 다른 쪽 끝을 컨트롤 박스의 전원 포트에 꽂습니다.
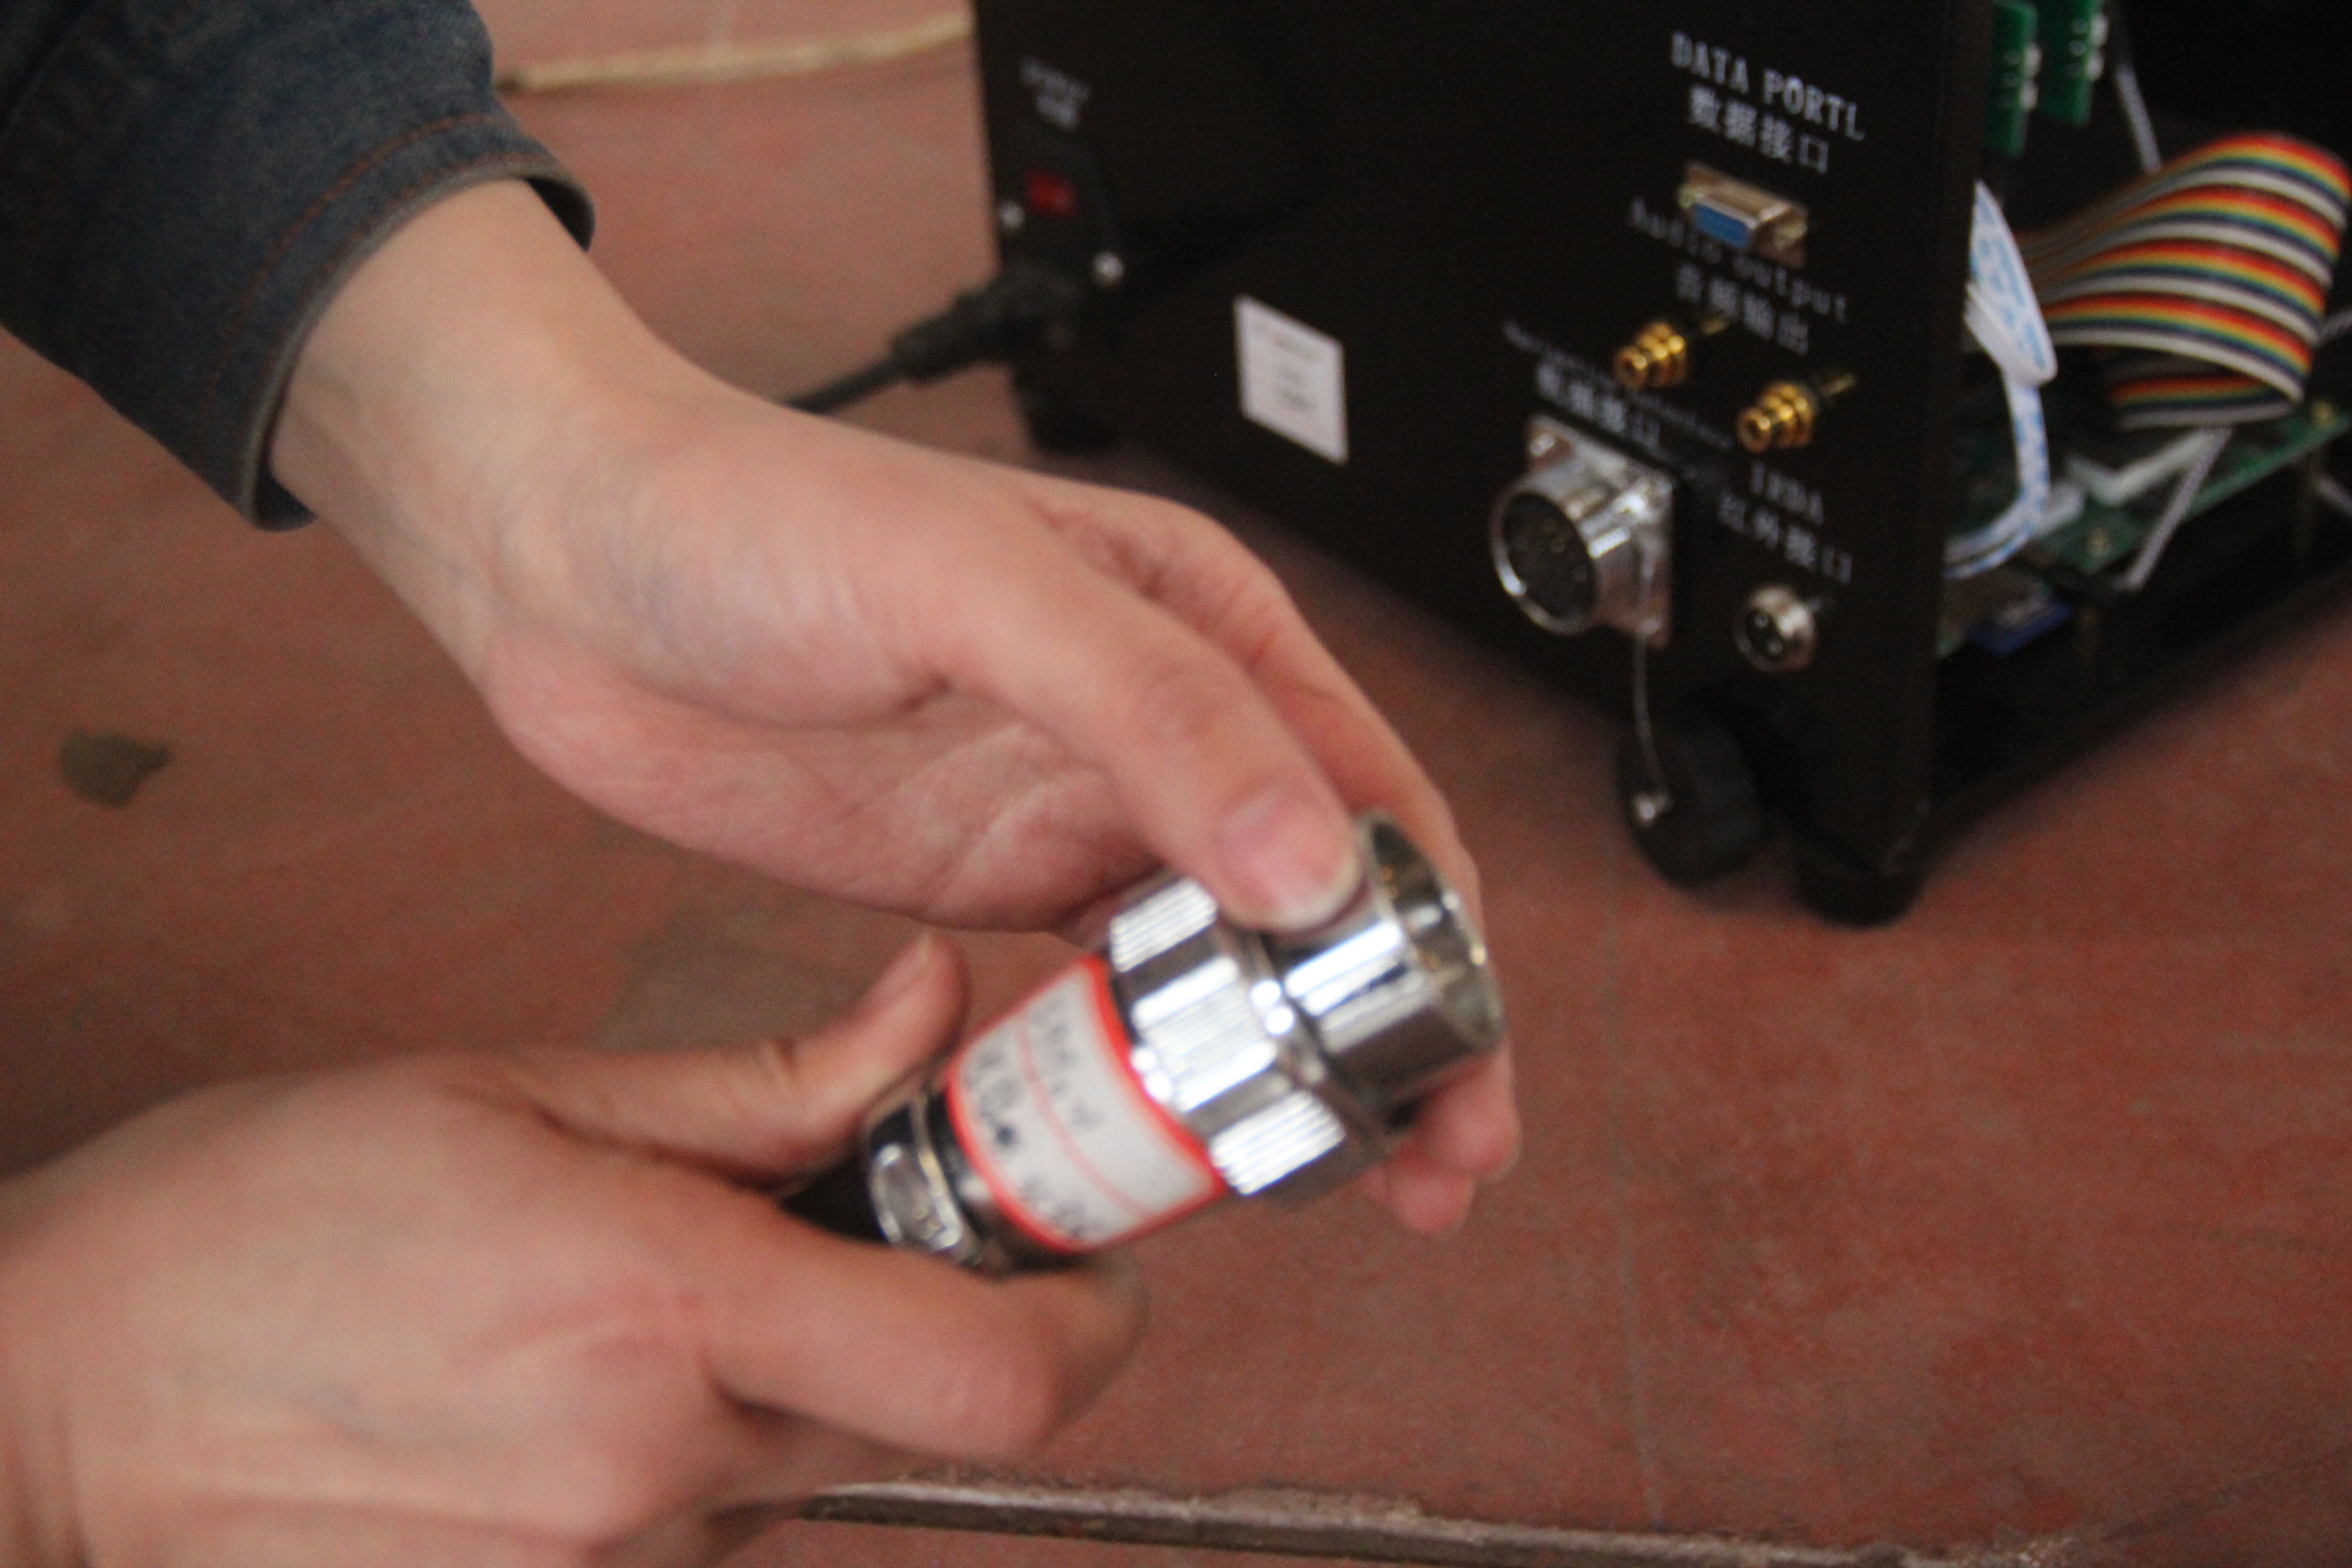
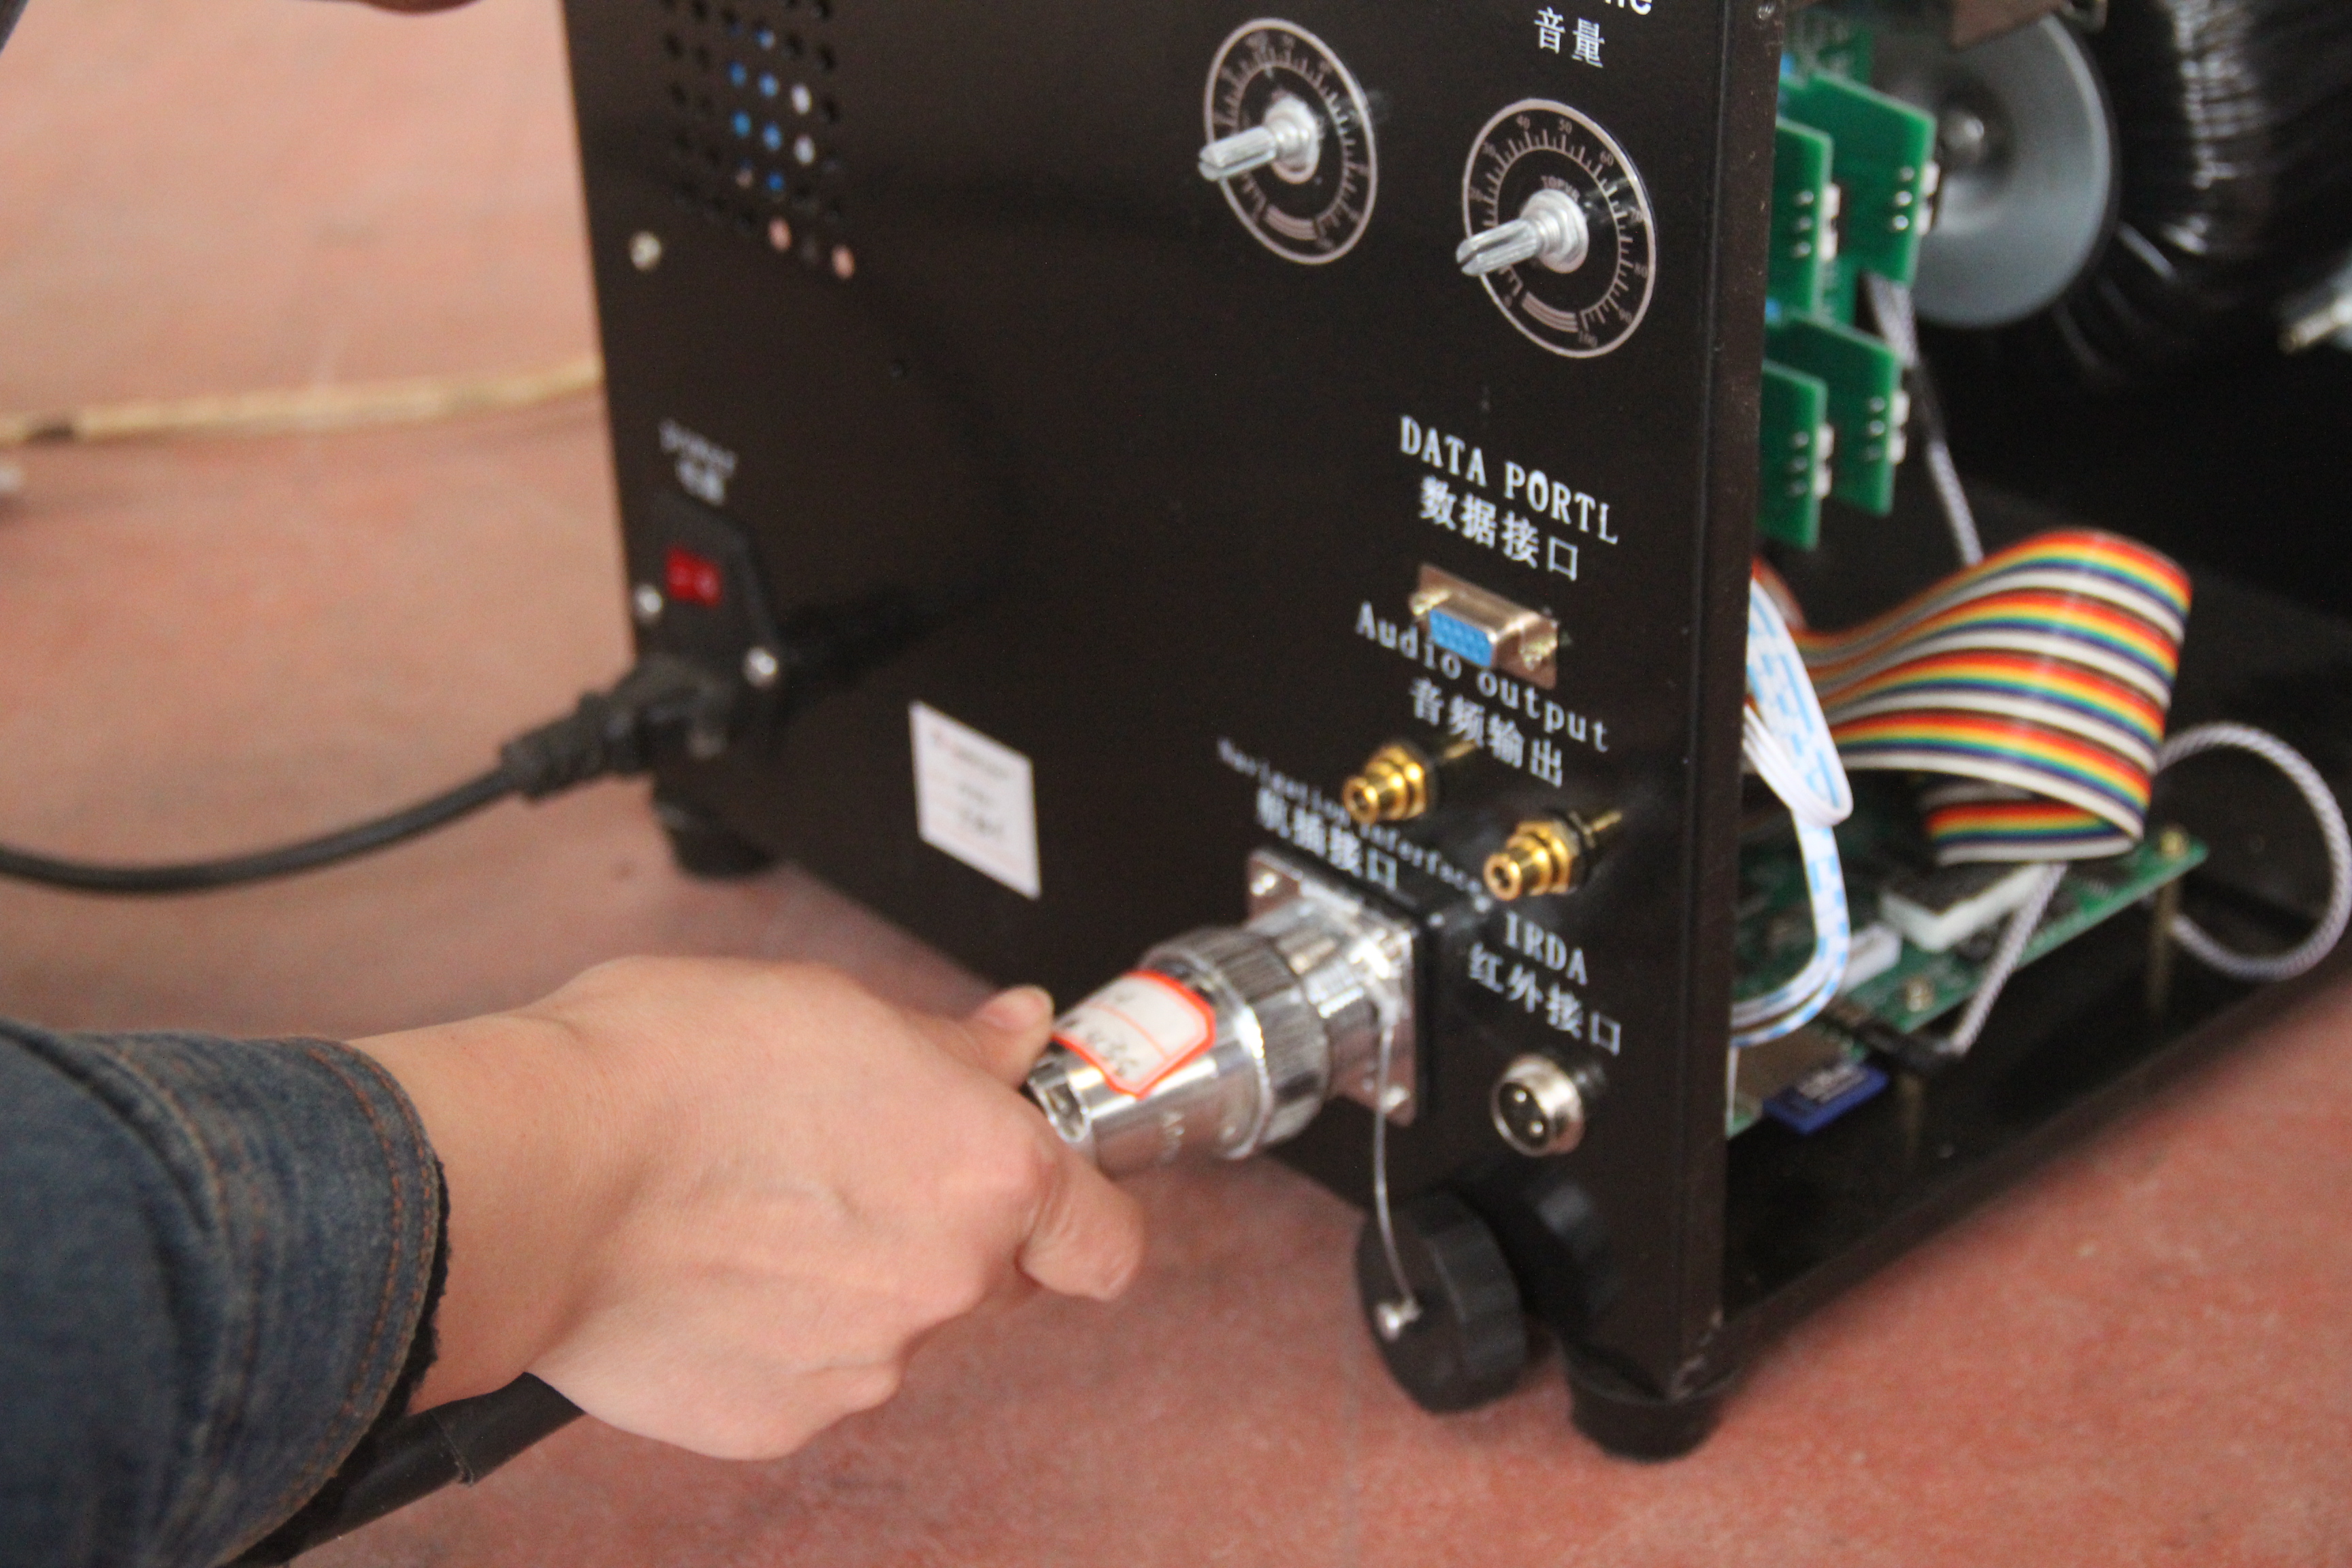
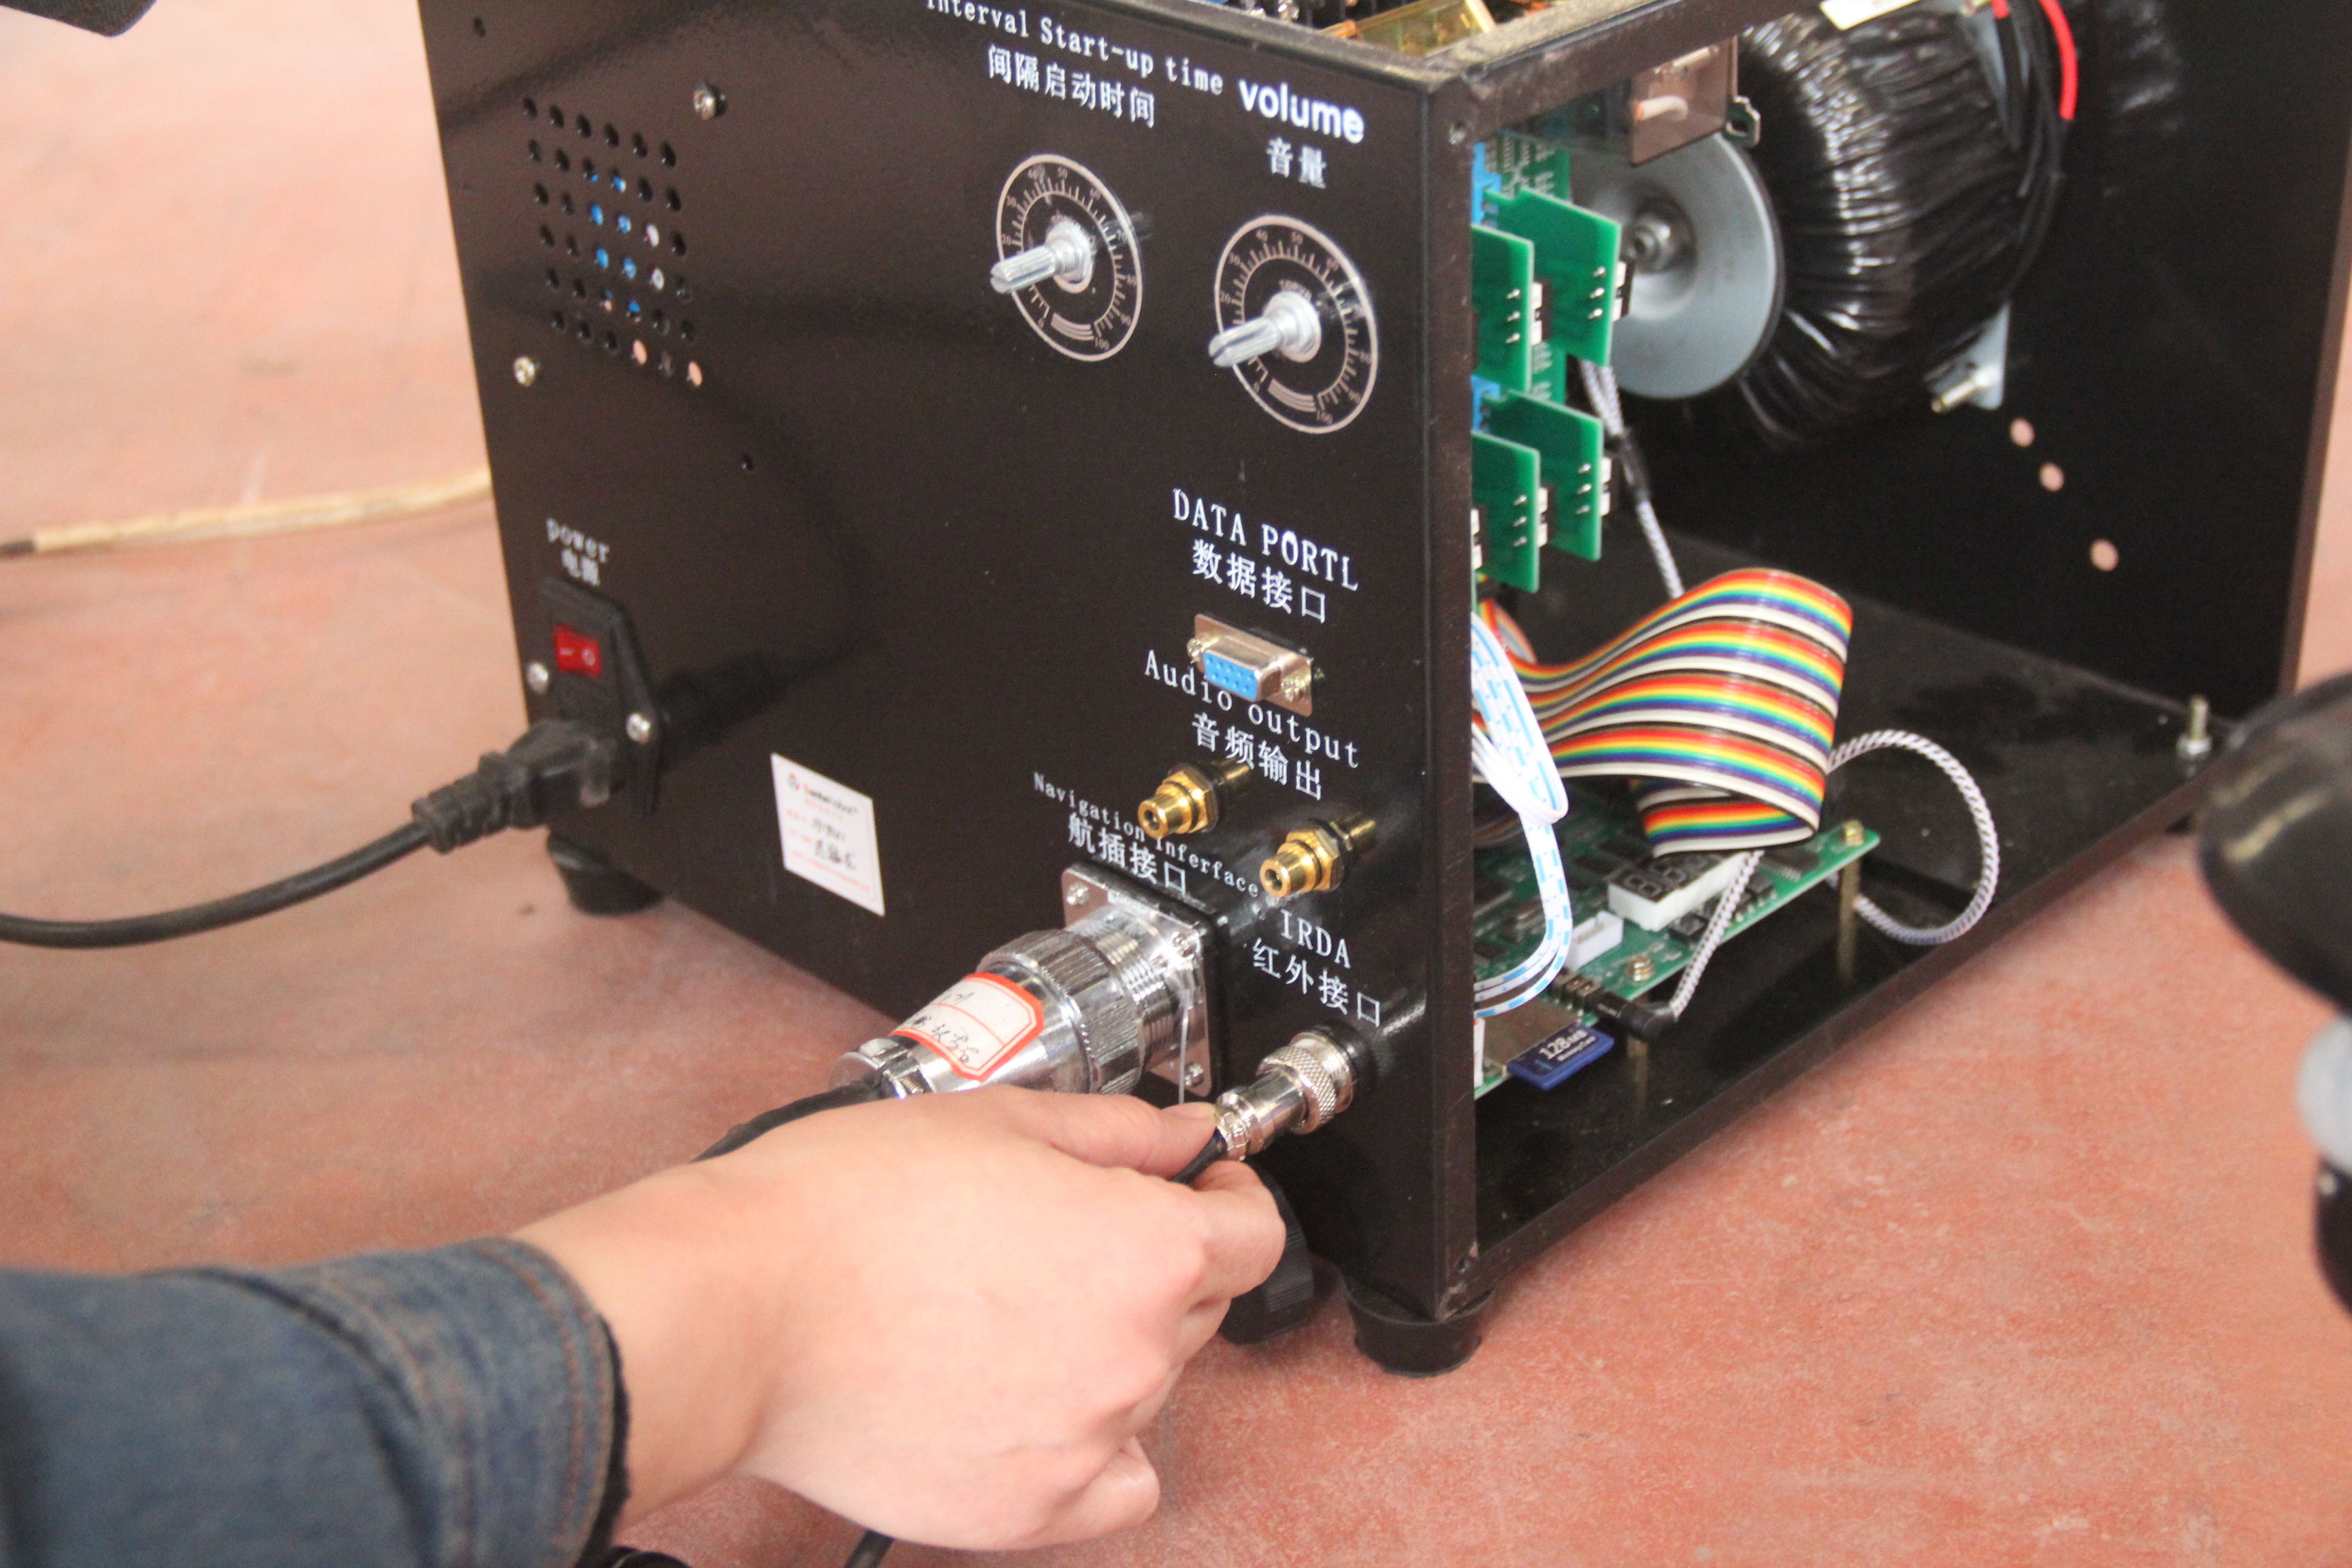
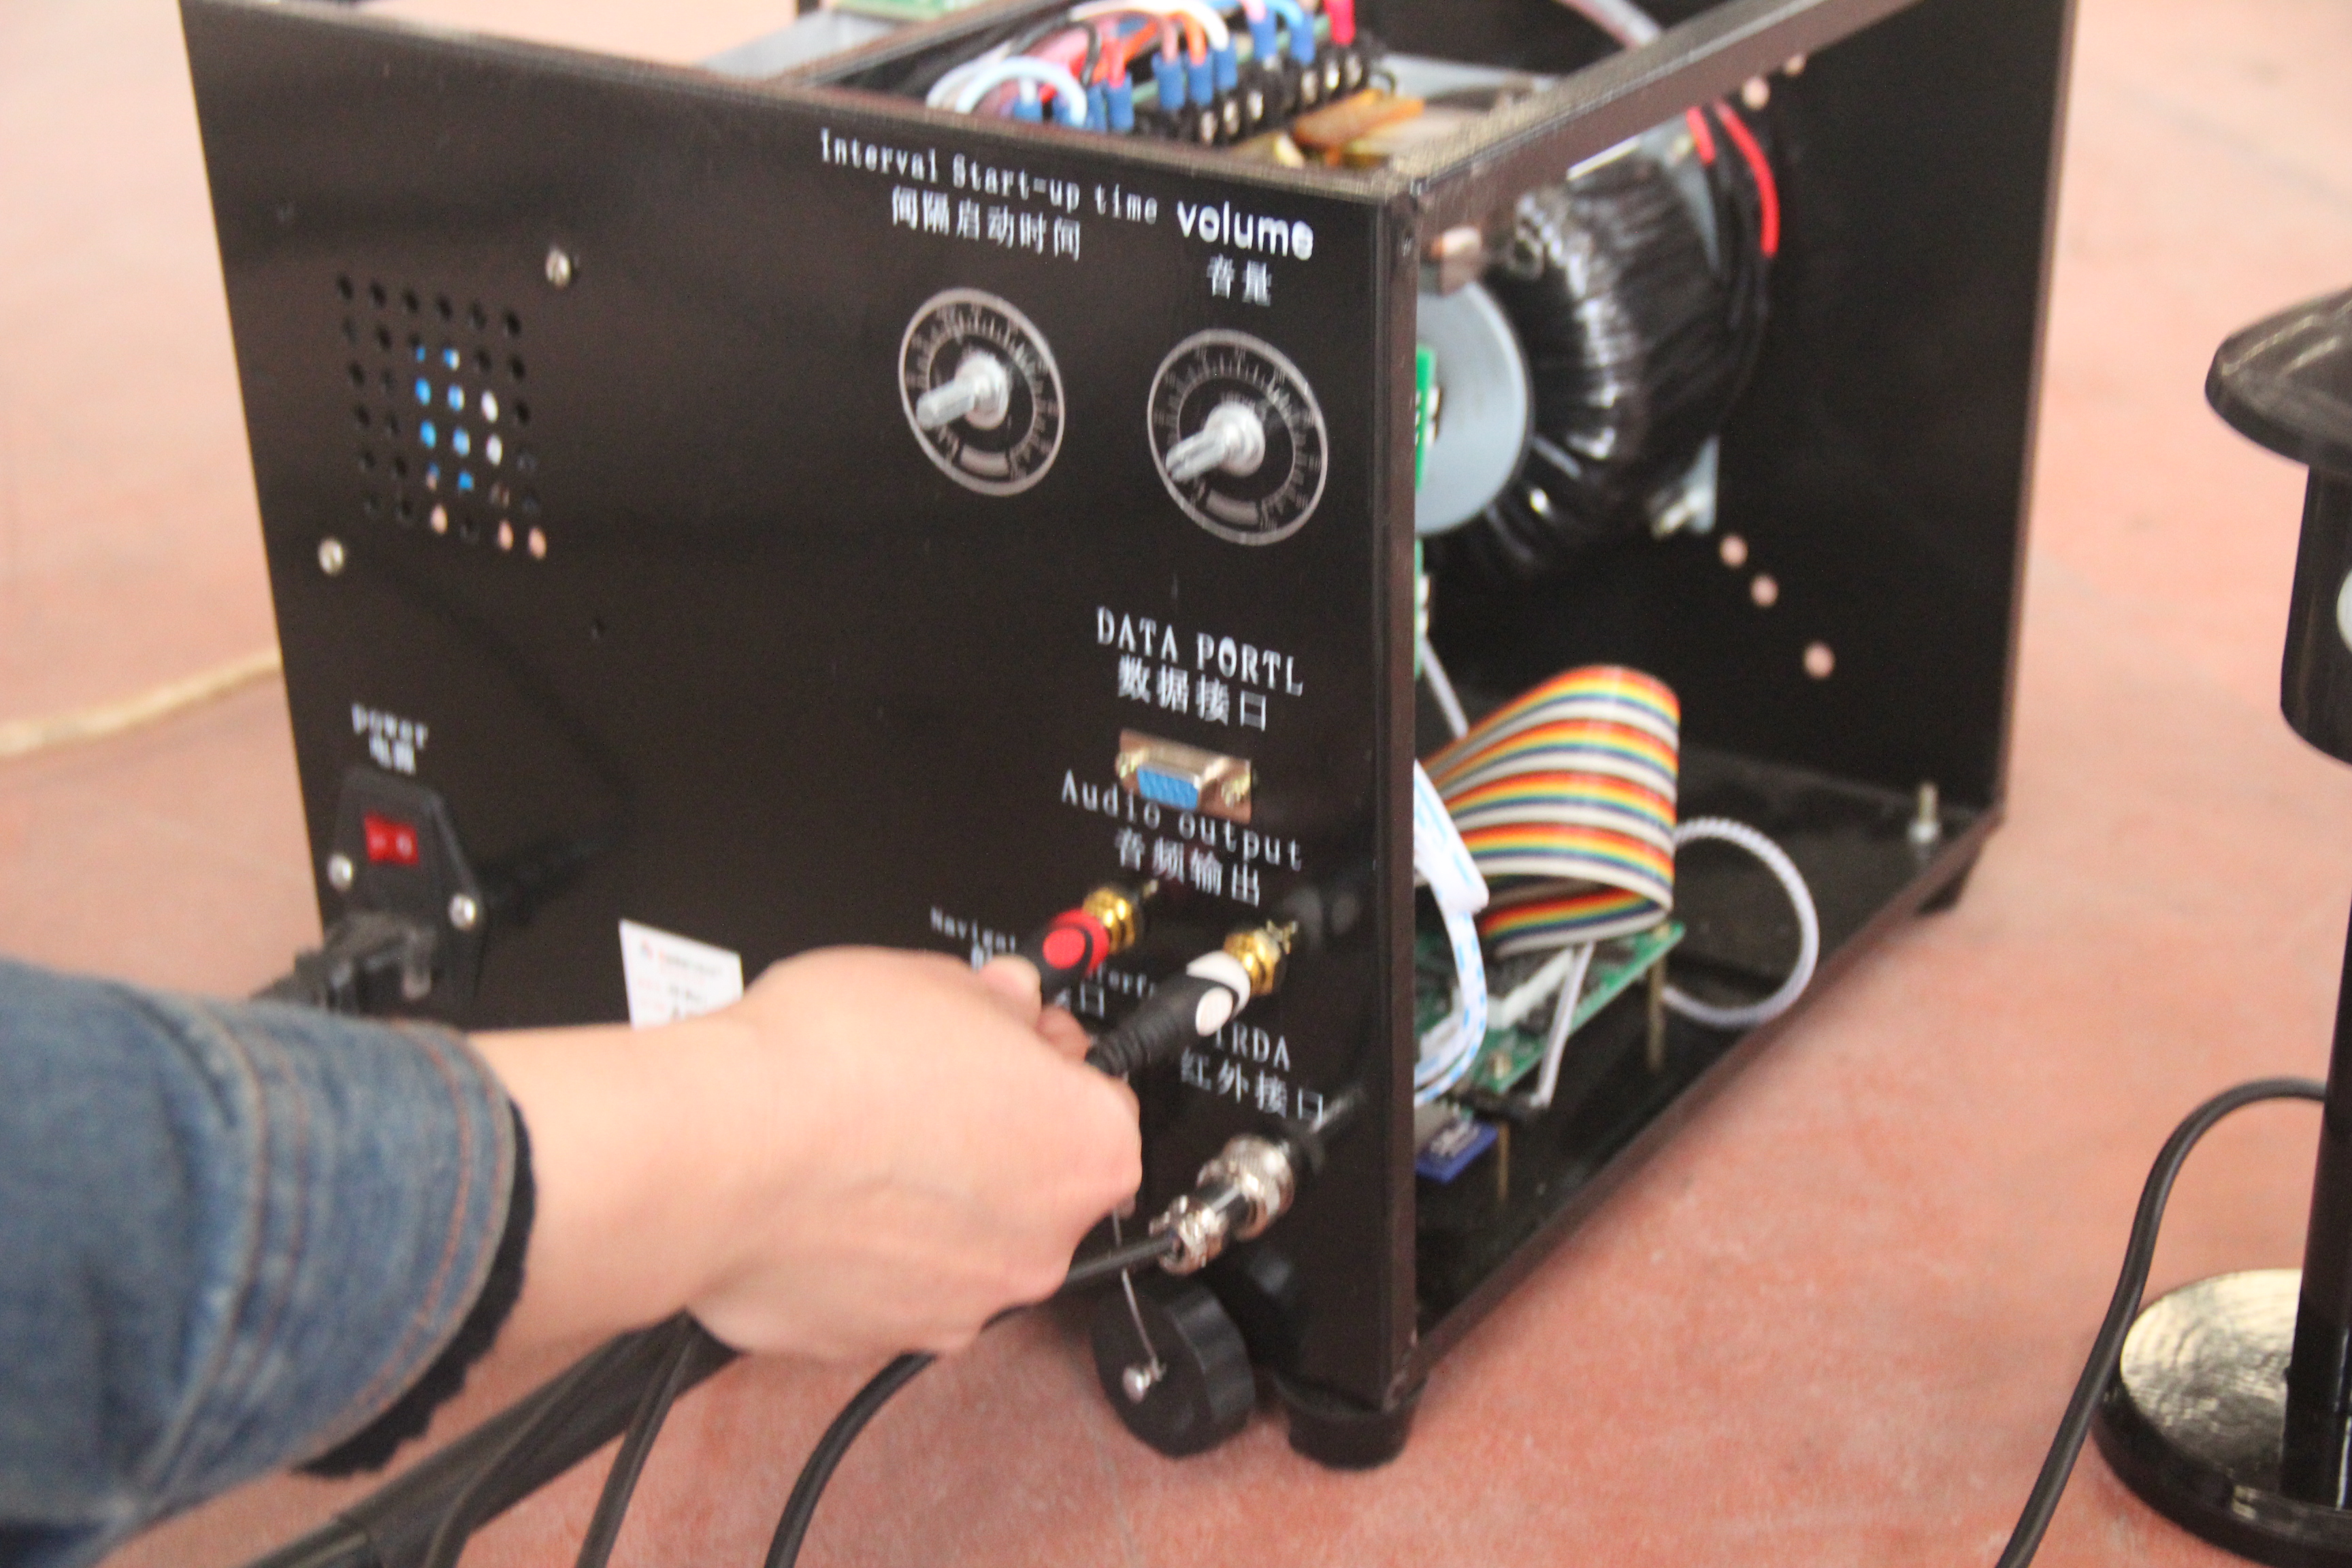
2 단계:제품에 연결된 에비에이션 플러그를 컨트롤 박스의 에비에이션 플러그 포트에 꽂습니다.
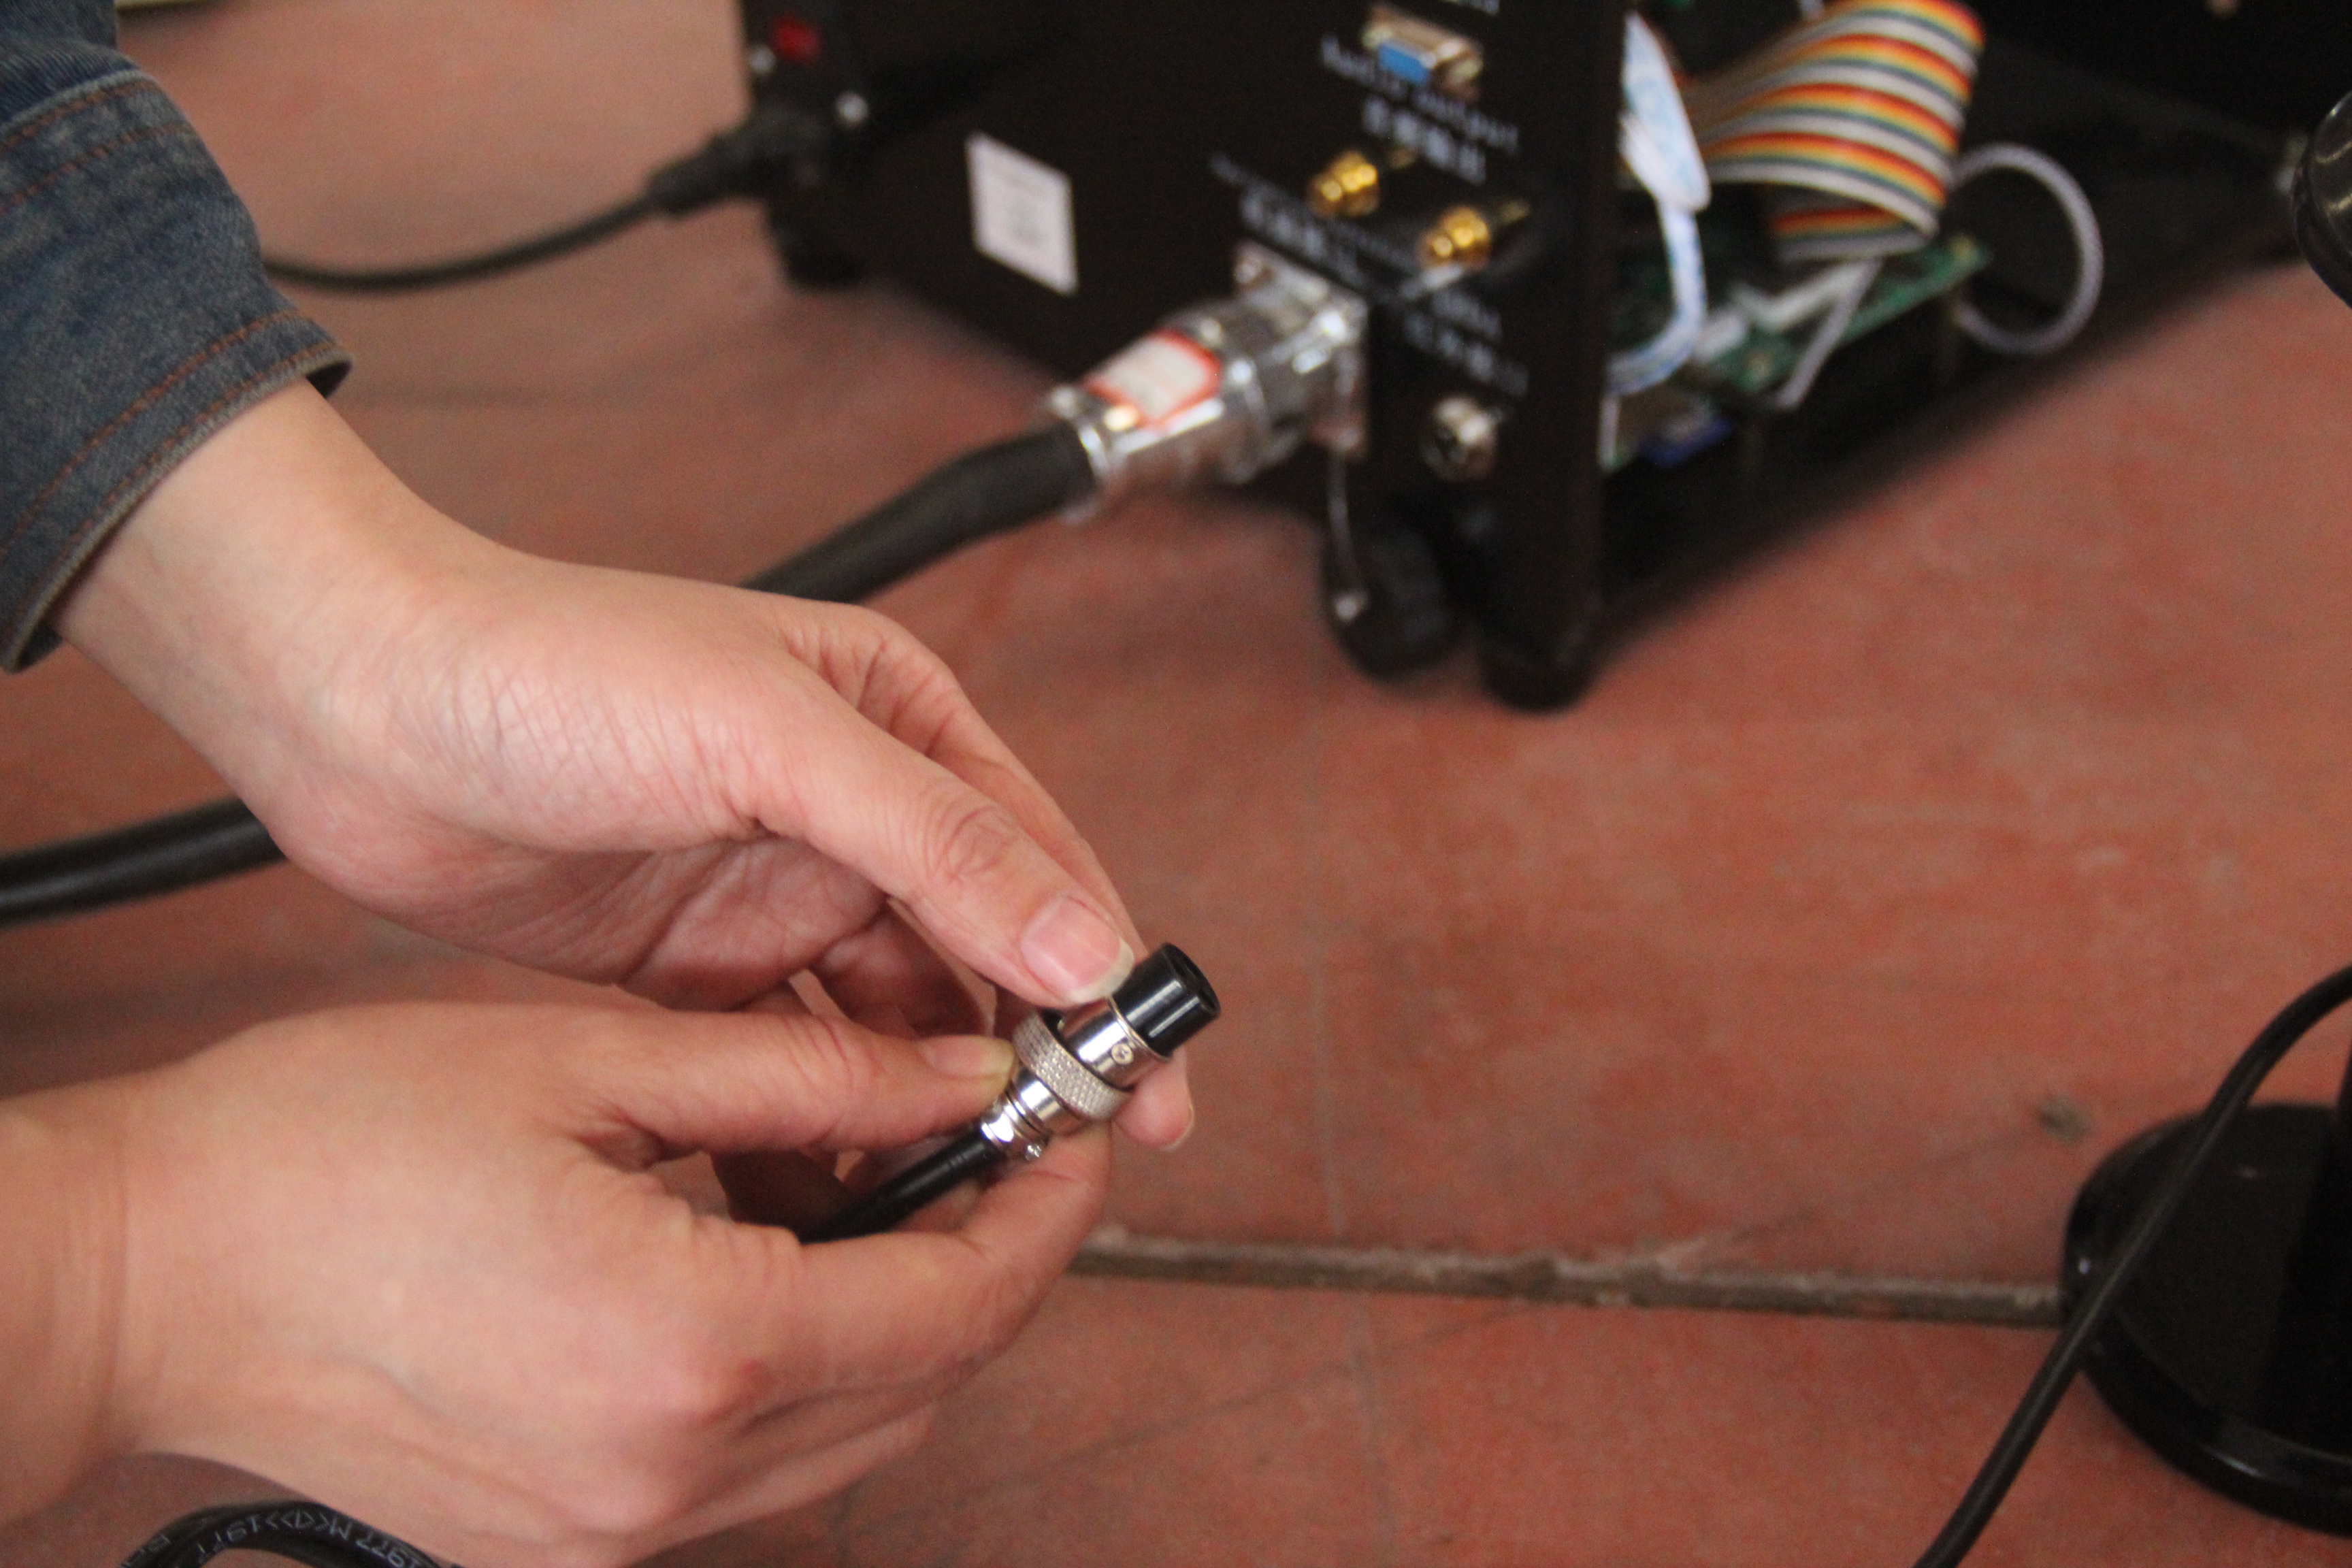
3단계:IR 에비에이션 플러그를 컨트롤 박스의 IR 에비에이션 포트에 삽입합니다.
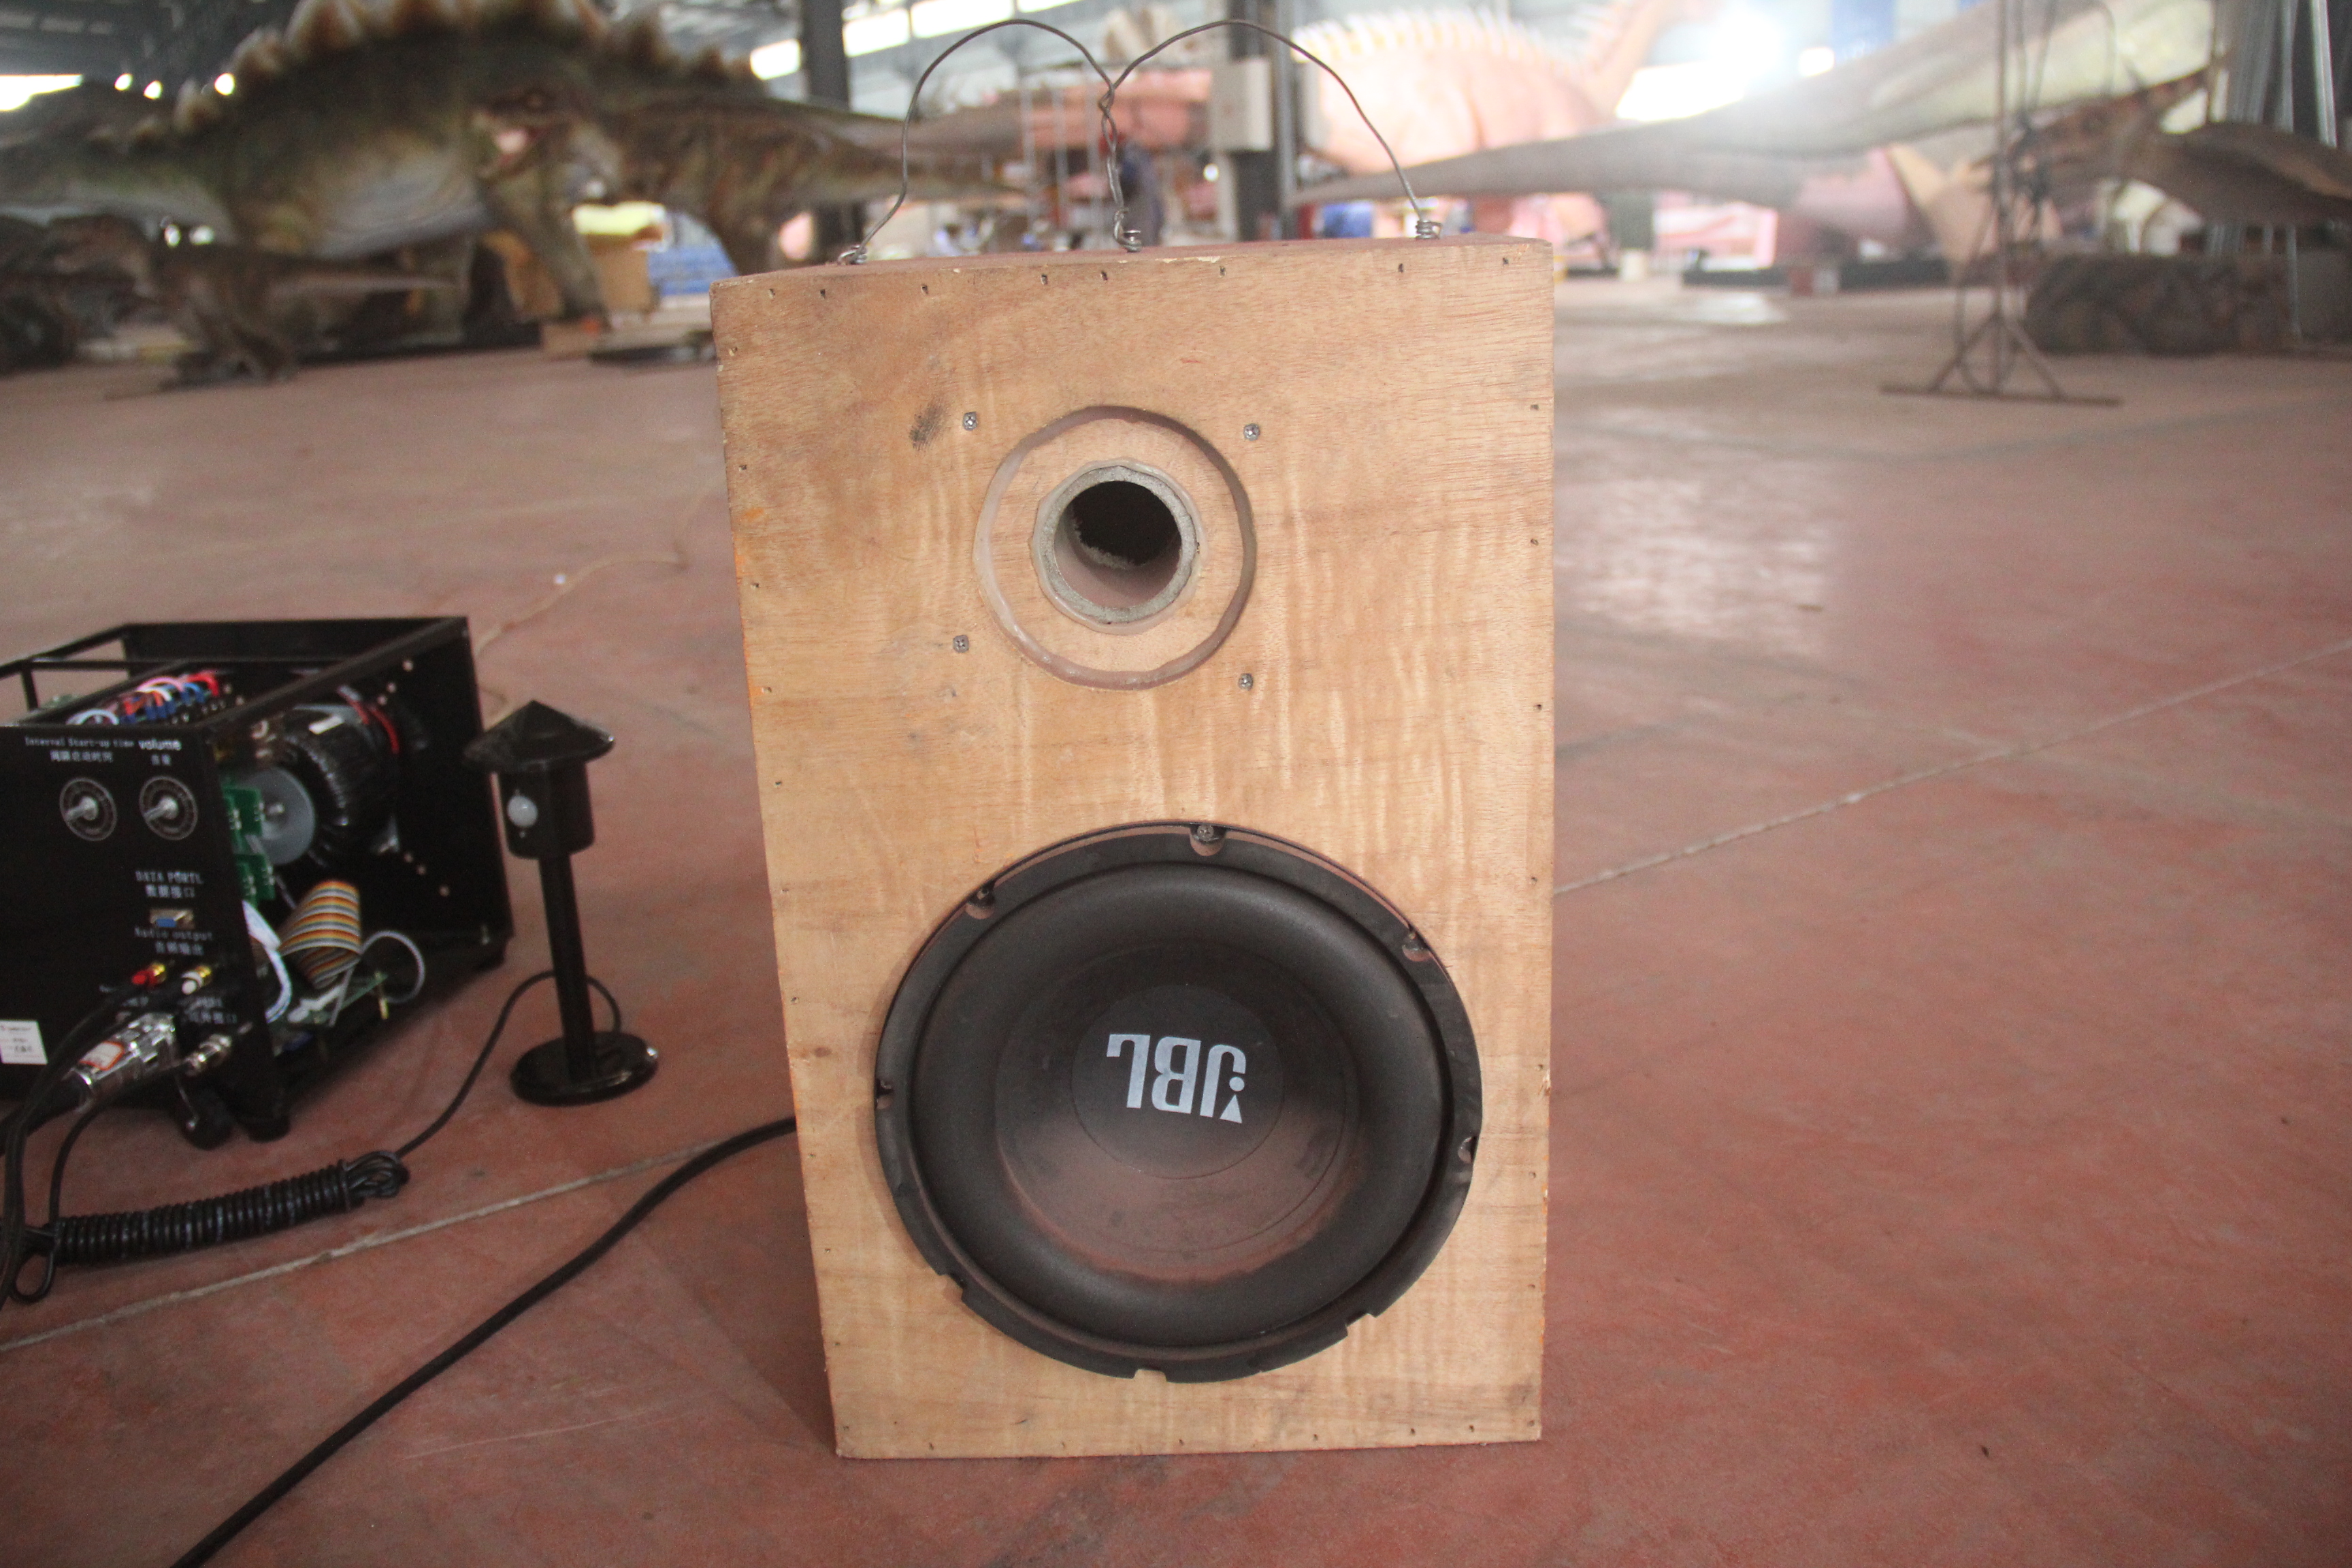
4단계:제어 상자의 오디오 출력 인터페이스에 스피커 플러그를 삽입합니다.컨트롤 박스의 볼륨 조절 버튼으로 조절되는 볼륨.
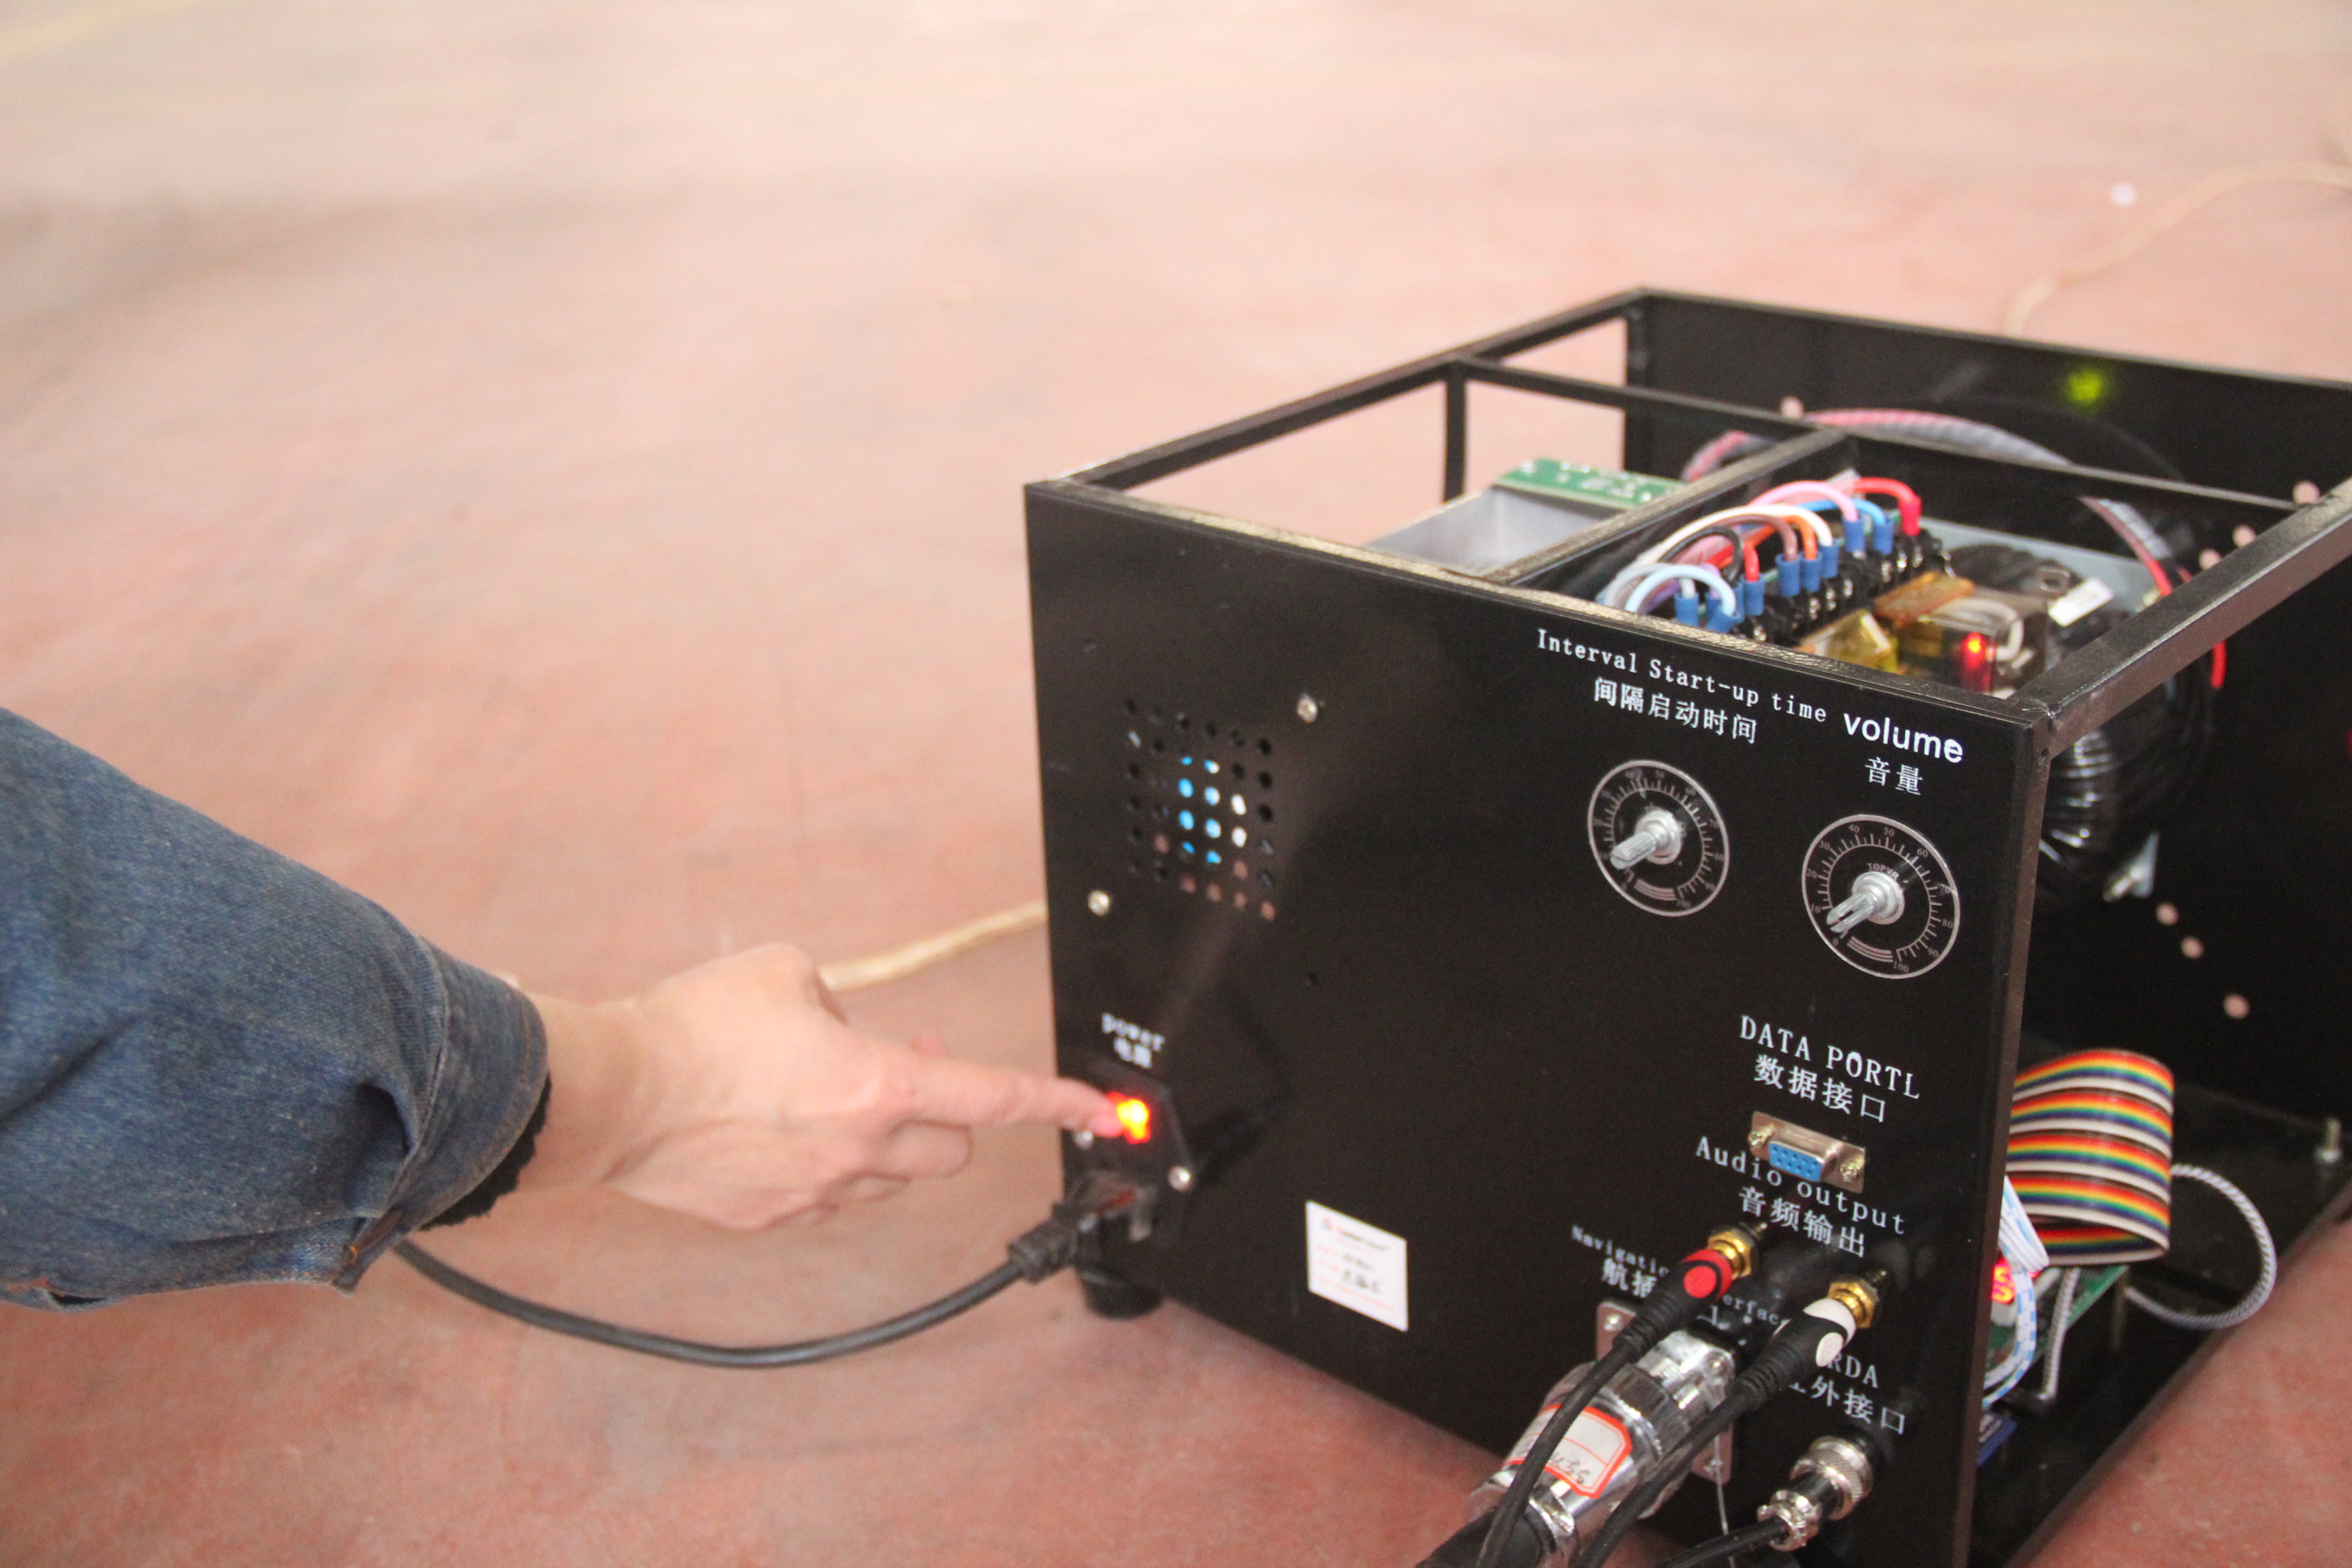
5단계:모든 플러그를 꽂은 후 전원 플러그 위에 있는 빨간색 시작 버튼을 켜면 애니메트로닉스 제품이 정상적으로 작동합니다.